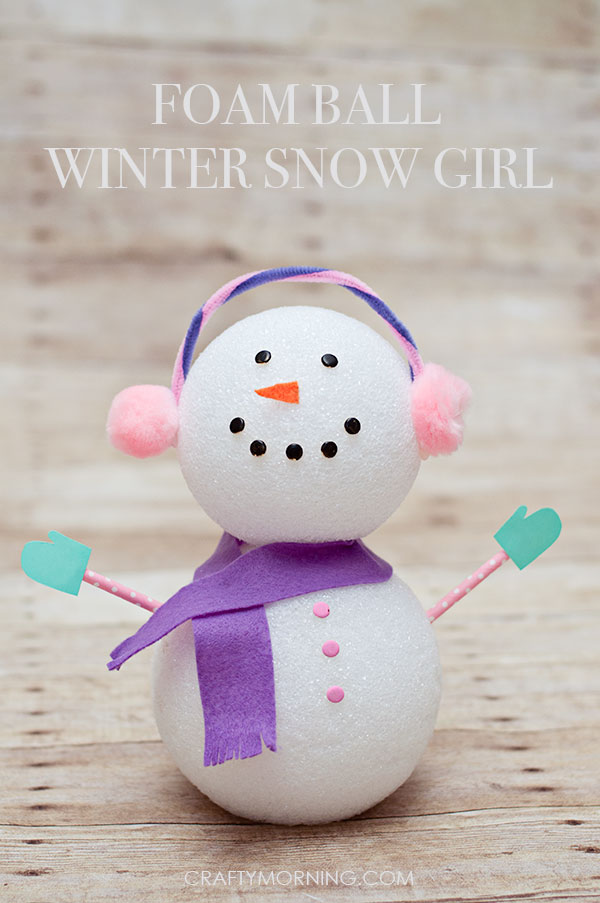
Winter is here and I wanted to share a quick craft you can make with your kids. A Snowman!! Or Snow Girl in this case! What better craft to do with the kids while it's freezing outside. We haven't had any snow yet here in NC, so I thought we would make our own Snowman! Fingers crossed we get some snow soon!
For this craft you’re going to need:
SUPPLIES
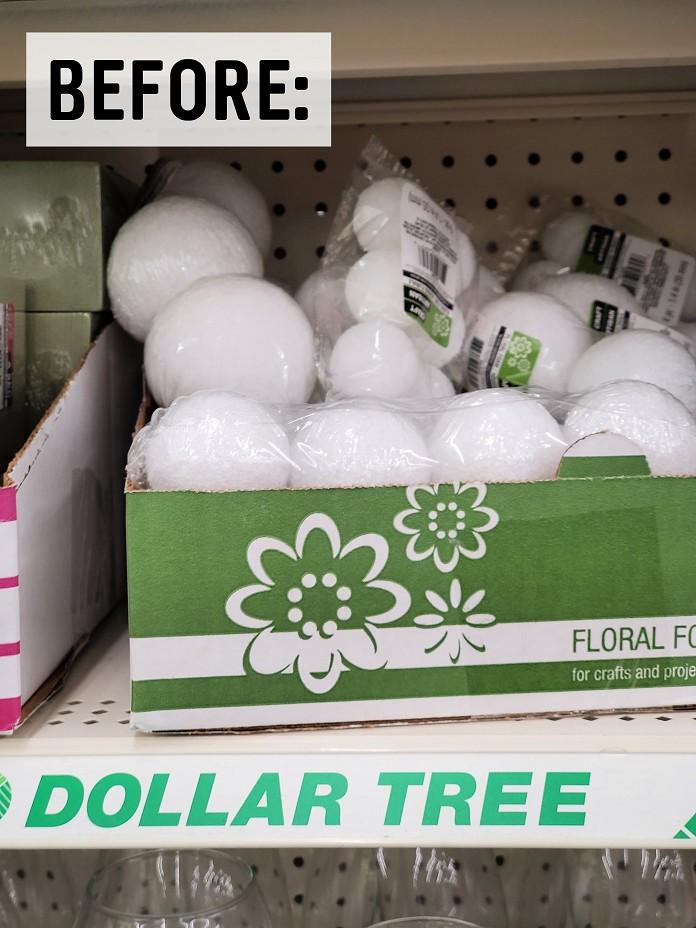
- Foam Balls
- Foam Connector
- Metal Fasteners
- Paint
- Pipe Cleaners
- Pom Pom Balls
- Cardstock
- Paper Straws
- Felt
- Hot Glue
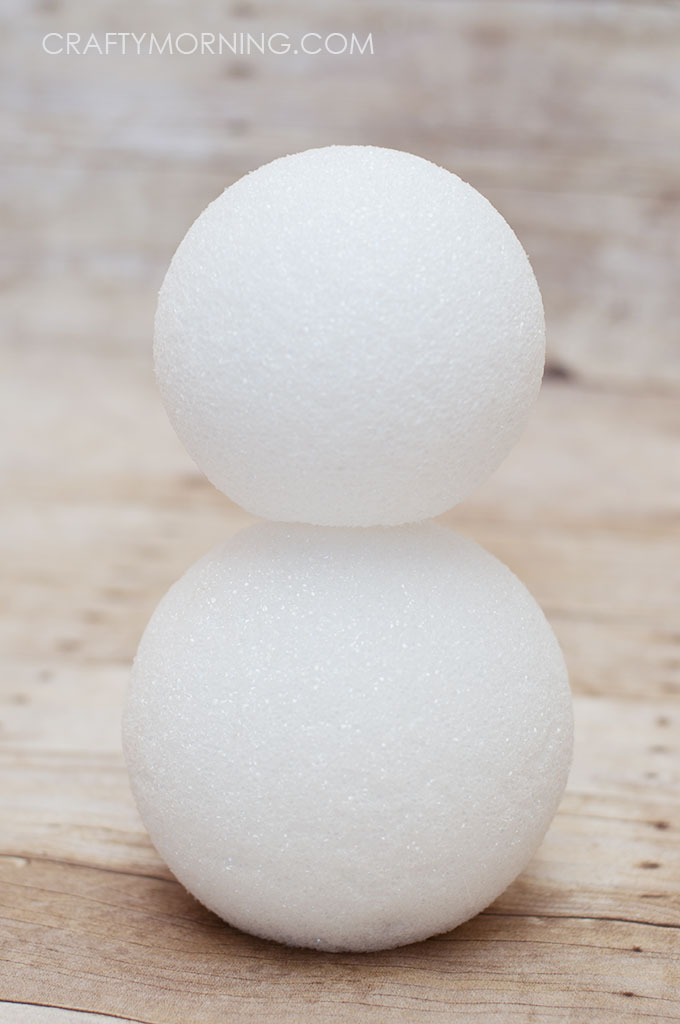
Step 1 - Create Body
For the body I used two size foam balls. I cut a flat spot on the bottom ball so that our snowman could sit properly.
I connected the foam balls with a foam connector. It worked perfectly!
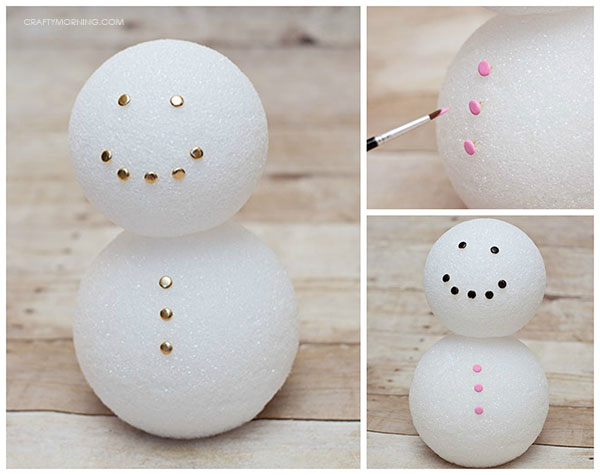
Step 2 - Add Face and Buttons
Now that we have our body together, now let's add our face and buttons. For this snowman I used metal fasteners, they are so easy to just push right into the foam. Once I added them, I just painted on my colors!
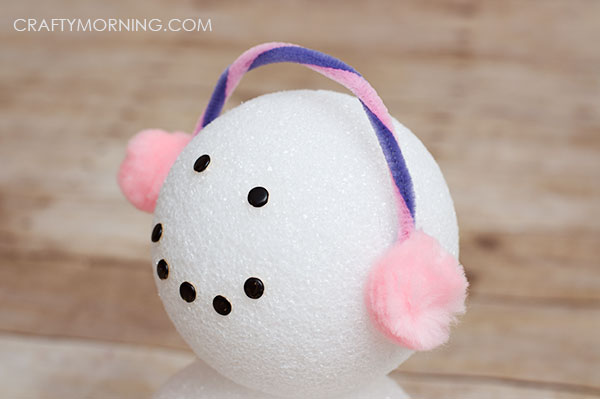
Step 3 - Make Earmuffs
Time to make our earmuffs!
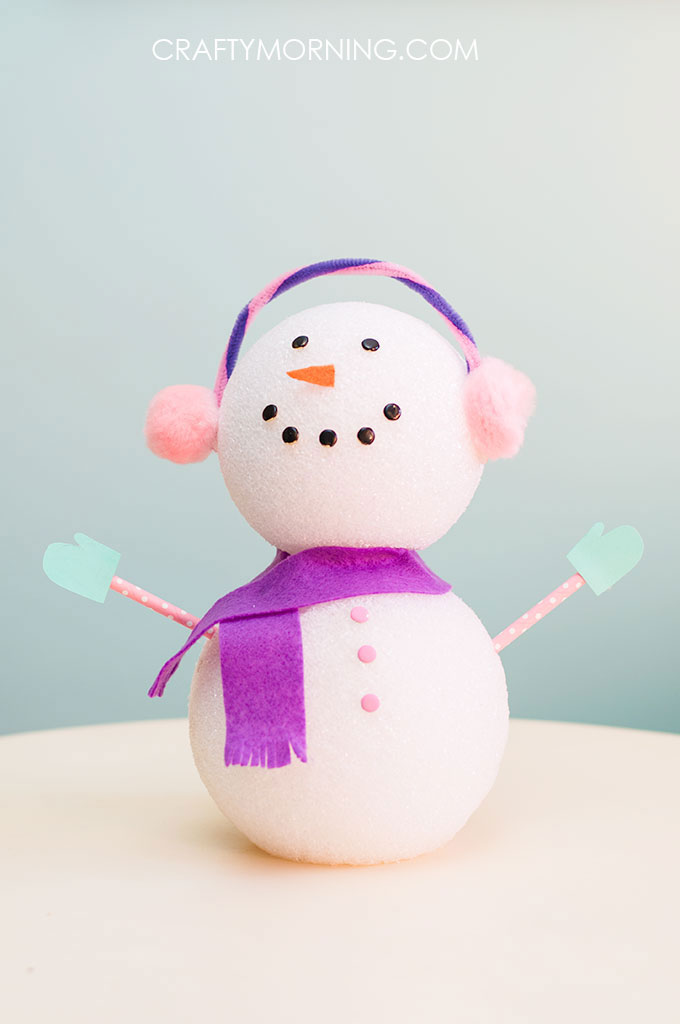
I found two pipe cleaners and twisted them together, then cut to fit the size of our snowman's head. Then I hot glued my pom pom balls on the sides. Next I hot glued our cute little earmuffs on the head.
Finishing Touches
To finished off our snowman, I cut a paper straw for the arms and drew out my mittens on cardstock. Then used some orange felt for the nose.
Add a fun decorative scarf with some felt too! Then your finished!
I really like the idea of making a snow girl! With three boys I rarely get to work on "girly" crafts. So I was excited. This is a perfect craft to keep your little one's busy on those cold winter days. You can get as creative as you want with your snowman!
Keep warm!!

Wanna' keep up with all my craftiness, follow me!
Facebook | Pinterest | Google+ | Twitter | Newsletter