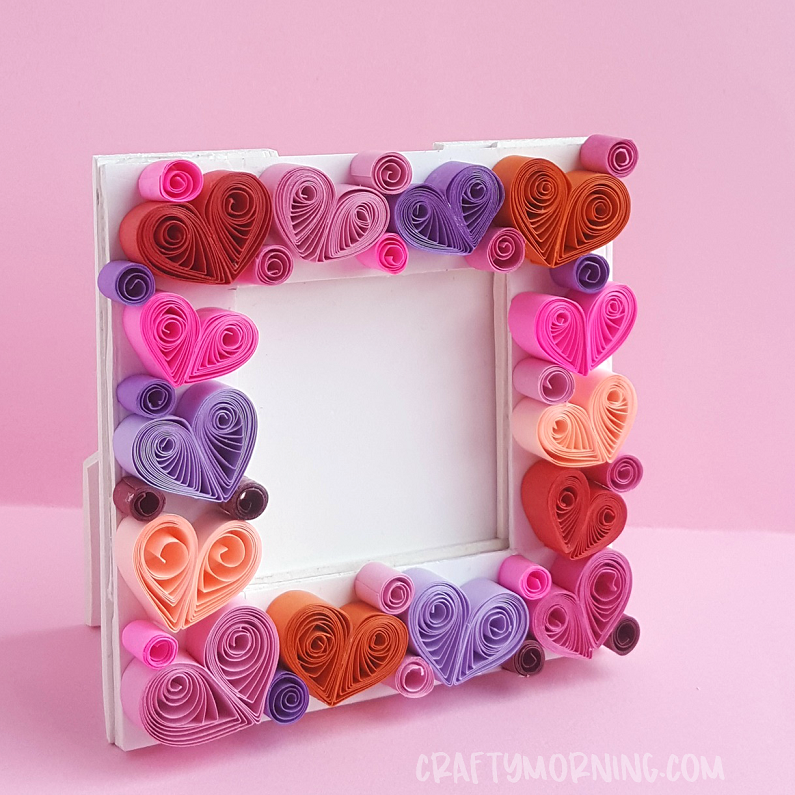
Make this gorgeous quilled heart photo frame for Valentine's Day! There is a printable template for cutting the stand up frame below.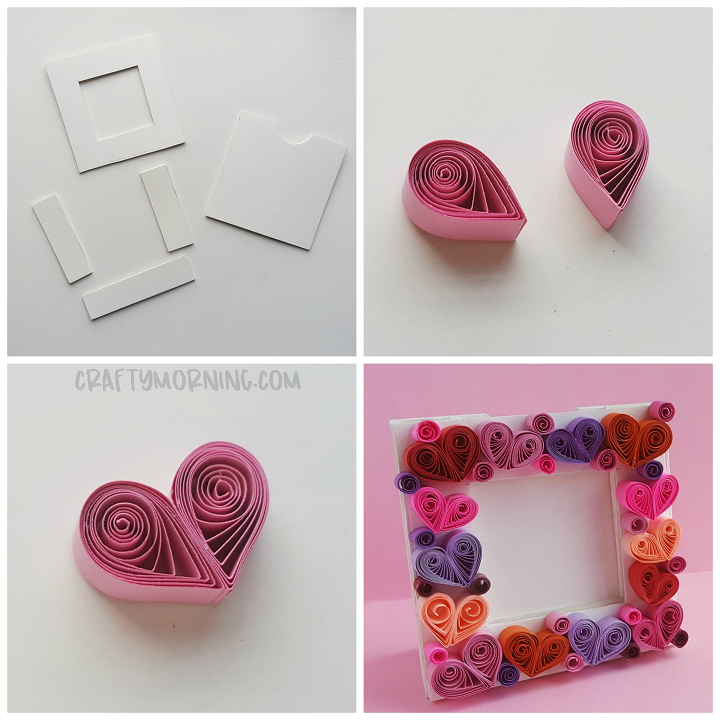
List of Supplies for the frame:
- Craft foam board
- Pencil
- Ruler
- X-acto knife
- Craft glue
List of Supplies for decorating the frame:
- Quilling paper strips
- Slotted quilling tool
- Craft glue
- Printable Template PDF
Instructions:
Step -1:
Print and cut out the template patterns. Grab the craft foam board and trace the patterns on it. Use the ruler to make sure that the measurements are accurate. Use pencil to trace the patterns and x-acto knife to cut out the traced patterns. The frame has 3 parts – back, middle and front.
Step -2:
Take the back side of the frame and place it on a flat surface. Stick the middle parts (bottom, left and right) of the frame on the back part. The longest part among the middle parts will go along the bottom side of the frame’s back side. Attach the 2 other parts on 2 sides (left and right) of the frame’s back side.
Step - 3:
Now carefully attach the front part, making sure to match all 4 sides with the bottom and middle parts.
Step - 4:
Grab a bunch of quilling strips; you will need a lot of them! Use the slotted quilling tool to create loose coils with the strip. Press the loose coil on any one side to form a teardrop shape. Apply glue to secure the open end. Similarly create another teardrop shape by using another strip of the same size and color.
Step - 5:
Take the 2 teardrop shape created in the previous step. Glue the shapes side by side to form a basic heart shape.
Step - 6:
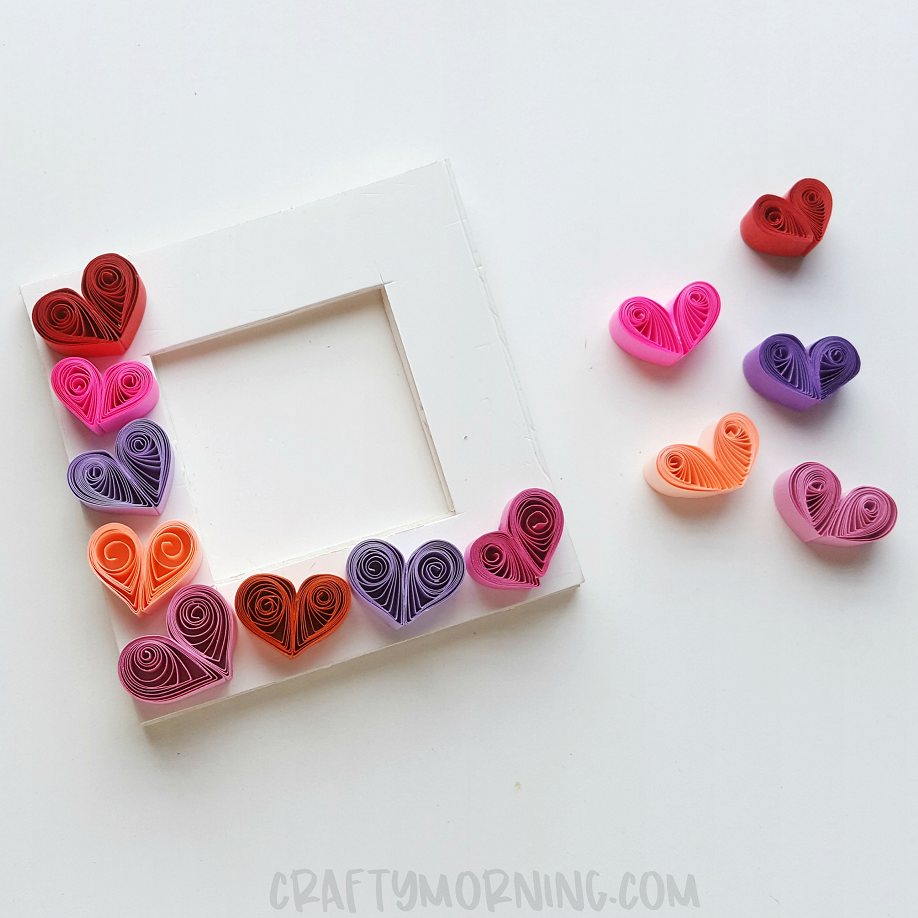
Similarly create more quilled heart shapes. I made 14 quilled heart shapes to fill my pattern.
Step - 7:
All items ready? Grab the frame and the quilled hearts and let’s decorate the frame!
Step - 8:
Start to glue the hearts on the front side of the frame. I started to glue the quilled hearts from one side.
Step – 9 and 10:
Continue to glue the quilled hearts until the frame is filled.
Step - 11:
If you want to fill the small gaps between the quilled hearts you can use small loose coils.
Step - 12:
Make the photo frame stand out of craft foam board and attach it on the back side of the frame.
Step – 13 (final image):
Allow the glue to dry. Lay the frame flat until the glue is dried.