How to Draw a Pumpkin (Easy Step by Step)
Pumpkin Drawing Tutorial

It is officially fall/Halloween season and that means pumpkin time! Have you ever wondered how do you draw a realistic looking pumpkin? This step by step photo instruction sheet is for you! It would be cute for making a fall card or just a coloring page. You can print instructions out here as well. Make sure to check out all our easy drawings for kids too!
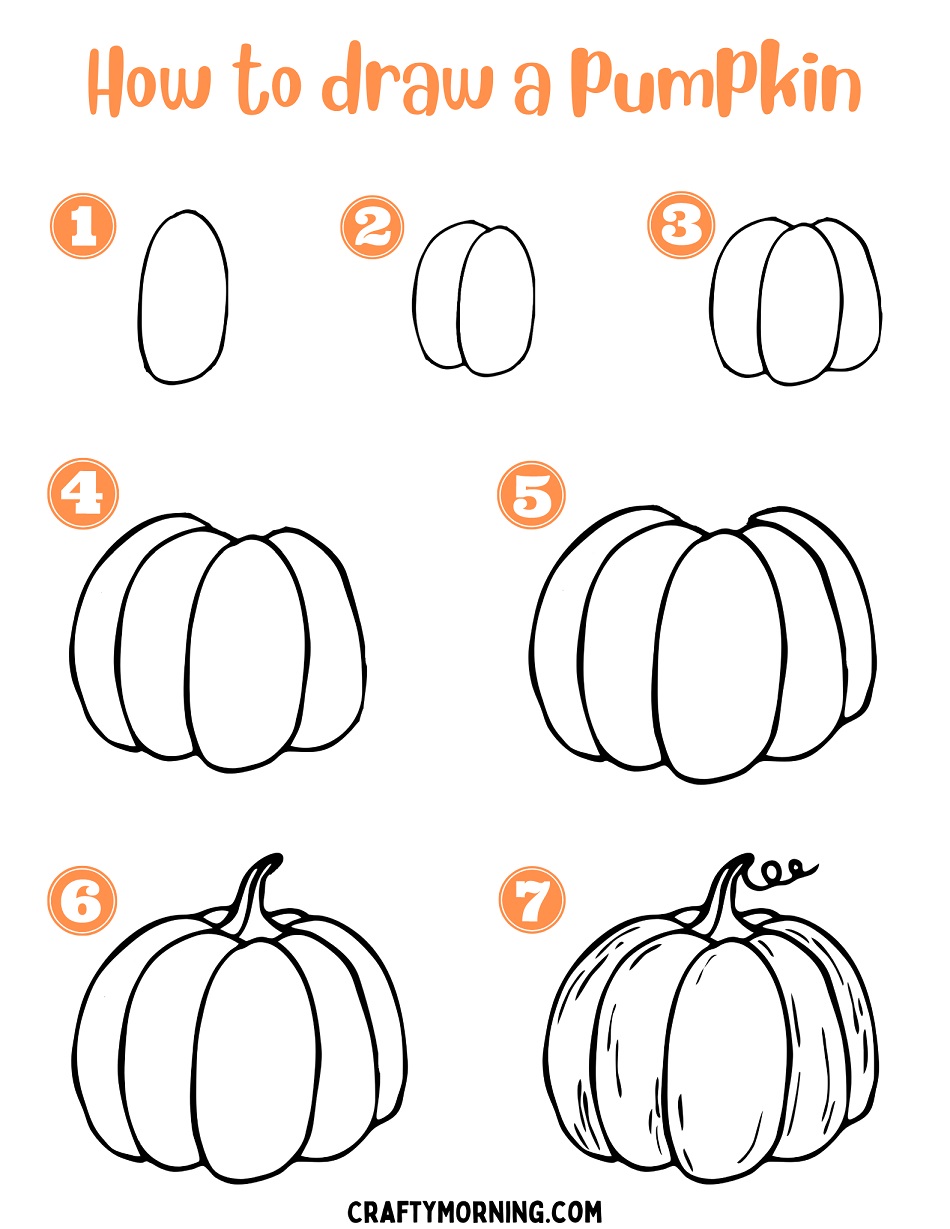
7 Steps to Make a Realistic Looking Pumpkin
Step 1- Draw a big oval shape.
Step 2- Add one to the left side of it.
Step 3- Add one to the right side of it.
Step 4- Add a skinnier oval to the left side.
Step 5- Add a skinnier oval to the right side.
Step 6- Draw a pumpkin stem and two parts behind it to look like a 3D pumpkin.
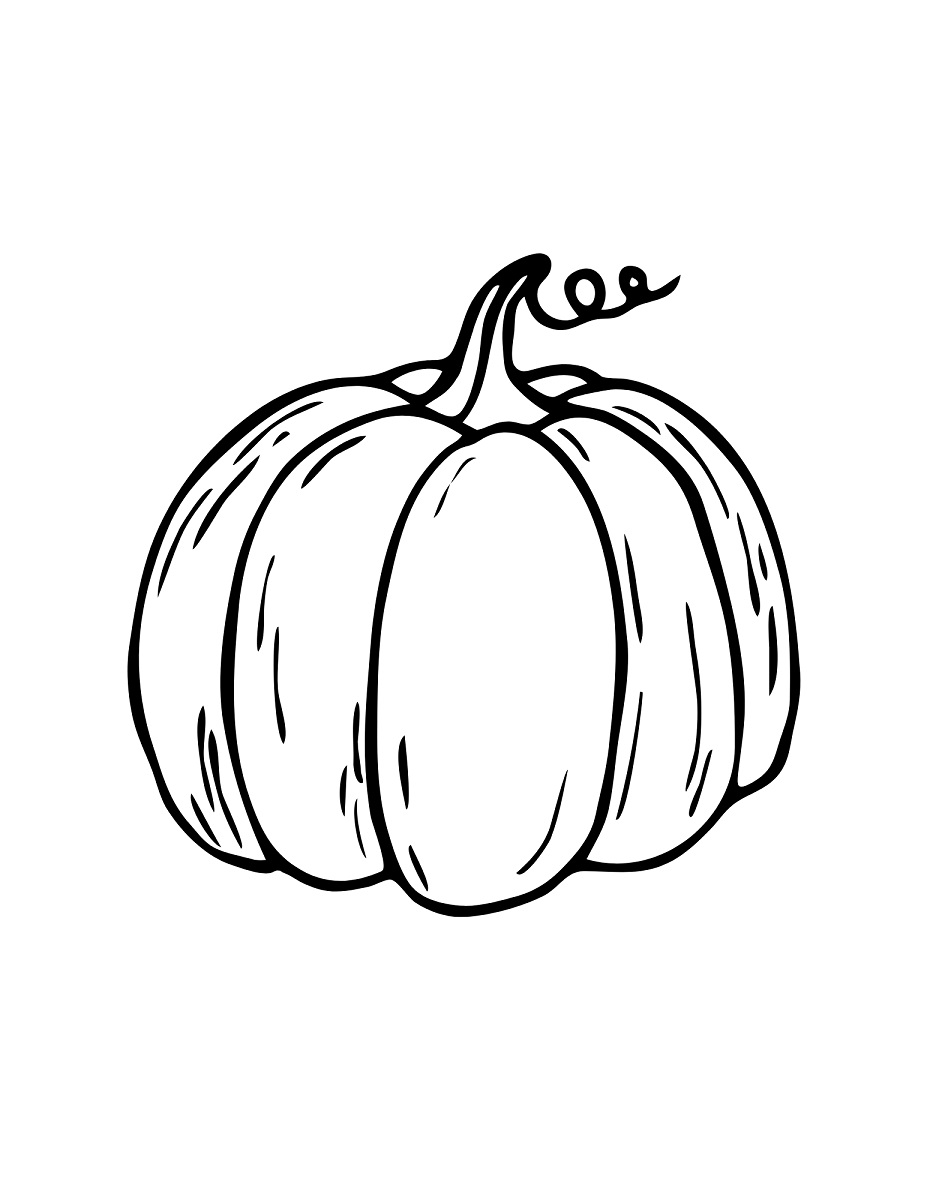
Step 7- Add a pumpkin vine at the top and shade in some textured lines.
You’re done! Now you have a pumpkin coloring page to do!
Print the Pumpkin Drawing Tutorial PDF