How to Can Pineapple and Save Money
This post may contain affiliate links. Please read our Disclosure Policy.
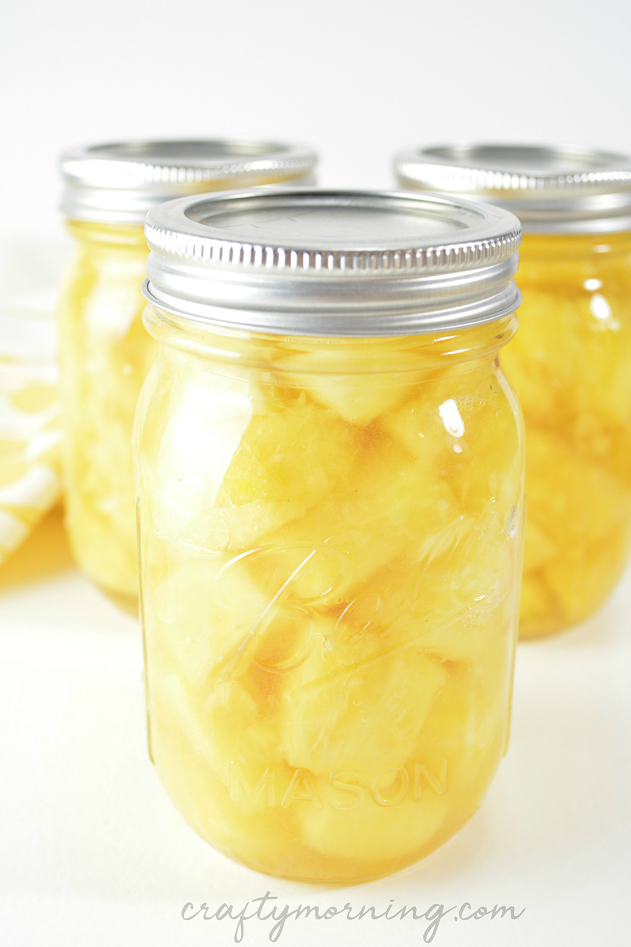
Save money and stock up on cheap pineapples before summer is over! Make canned pineapple at home!

How to Can Pineapple
Ingredients
Ingredients:
- ● 6 Ripe pineapples
- ● 5 c. Hot water
- ● 1 c. Sugar
- ● 8-9 Pint canning jars with lids and rings
- ● Water bath canner
- ● Preserving accessory kit optional
- ● Sharp knife
Instructions
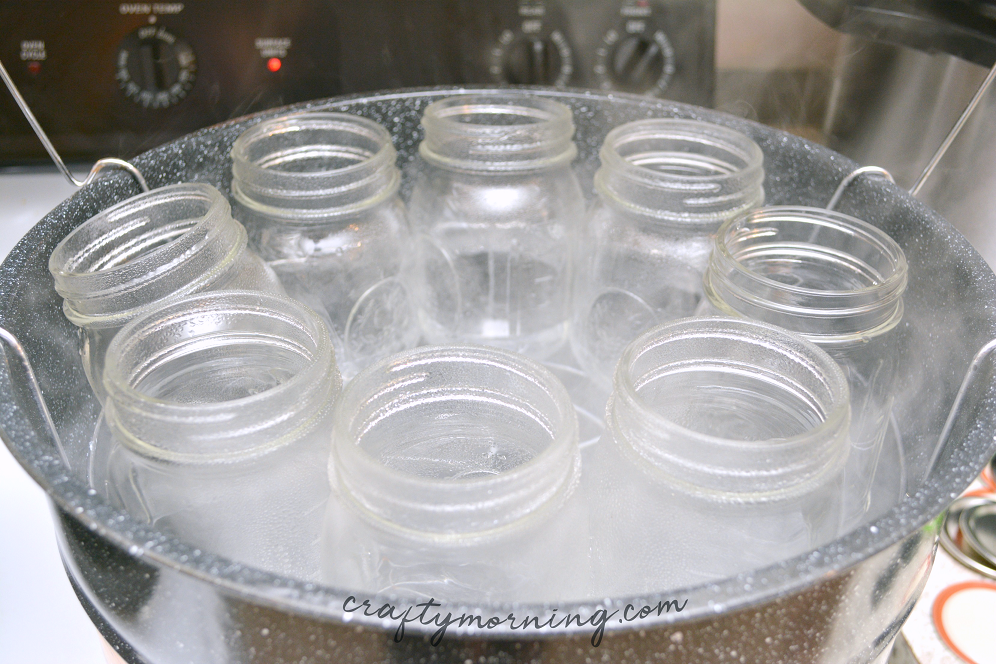
- Begin by filling your water bath canner with hot water and placing it on the stove with the empty canning jars in the basket. Place a lid on the canner and let it come to a boil while you prepare the pineapple.
- Cut the top off of the pineapples.
- Remove the skin and any rough spots from the outside of the pineapples. If you leave a few spots here and there it is not a big deal, but you want to try and remove it as thoroughly as possible.
- Cut the bottom off of the pineapples and slice them in a circle so that only the core remains in the center. Dispose of the core.
- Take the larger slices of pineapple, and cut them into bite sized chunks.
- On another burner, place the lids and rings for the jars in a pot of water over low heat. This will keep them hot and sterilized until you are ready to use them.
- In a large pot, place 5 cups of hot water over medium-high heat.
- Add 1 cup of sugar to the pot with the water, and bring the mixture to a boil while stirring often.
- As soon as the mixture begins to boil, reduce the heat to medium-low, as you do not want the mixture to reduce down. This will form an extra light syrup to can your pineapple in. If you wish, you can add just water if you want to can your pineapple without extra sweetener.
- Add the pineapple chunks to the syrup mixture in the pot in a single layer. You will work in batches to get through all of the pineapple. You only want to warm up the pineapple and not cook it, so only give each batch of pineapple chunks about a minute in the syrup mixture.
- Remove the jars from the water bath canner. Empty them of any water, and set them on the counter so that you can begin to fill them.
- Once heated, add the pineapple chunks to the canning jars using a slotted spoon.
- Tap the bottom of the jars on the counter a few times to pack the pineapple pieces in there more tightly. You can also press down on the pineapple pieces in the jar to help fill all of the available space and pack in more pieces.
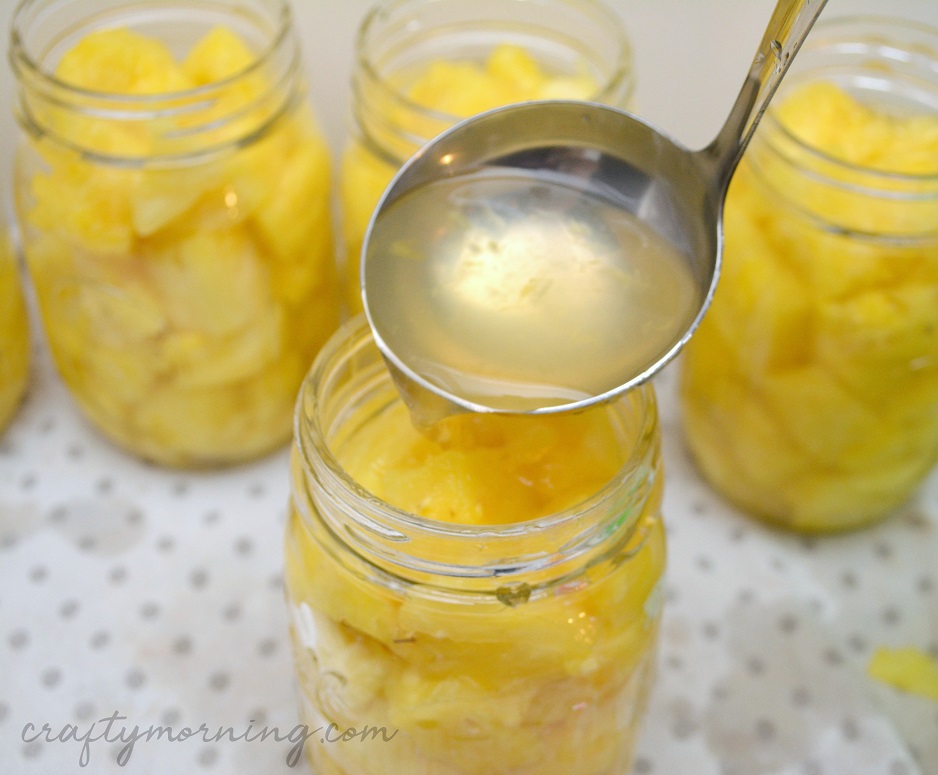
- Once all of the jars are filled, use a ladle to fill each jar with the light syrup mixture from the pot. You want to fill your jars, but leave a ½ inch of headspace at the top.
- You can use a bubble removing tool or a butter knife to stick down in the side of each jar to help remove the bubbles.
- Use a wet cloth or paper towel to wipe the rim of each jar to ensure a good seal.
- Place a heated lid on the top of each jar and secure it in place with a canning ring.
- Place the jars into the rack in the water bath canner, and submerge in boiling water for 15 minutes.
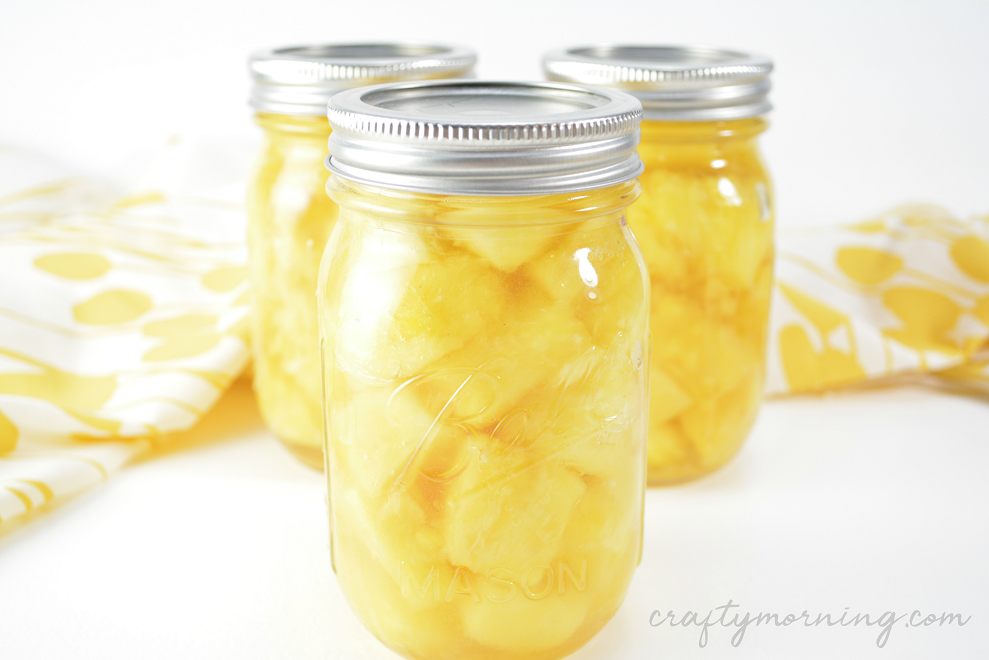
- Remove the jars from the water bath canner and place them on a counter. Let them sit undisturbed overnight. It can take up to 24 hours for all of the jars to seal. You can know if a jar is sealed by looking at the bubble in the center of the lid. If it is popped up, then the jar has not sealed. If it is down, then the jar is sealed properly and can be stored. If any of the jars did not seal overnight, you can press firmly on them for a minute or two. If the bubble stays down, then the jar is safe to store.
Notes
Makes 8-9 pints