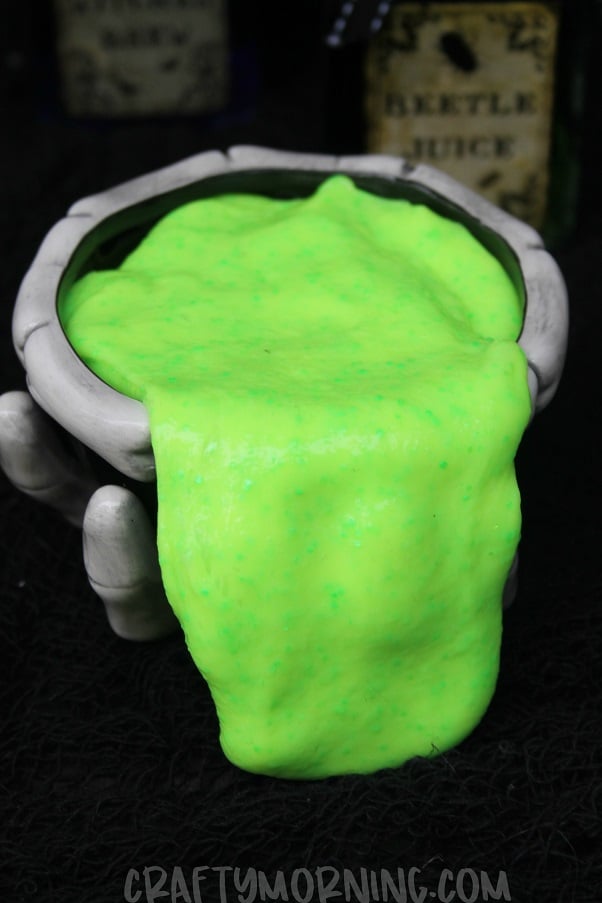
How to Make Color Changing Slime
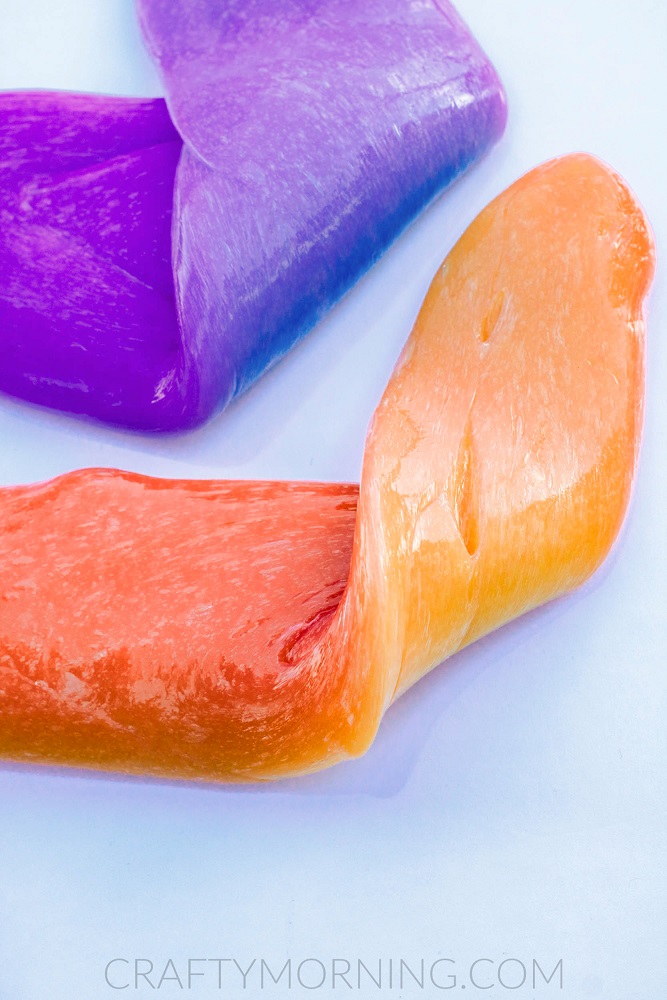
Make some awesome color changing slime for the kids to play with! They will be amazed!
This post may contain affiliate links. Please read our Disclosure Policy.


Color Changing Slime Recipe
Materials
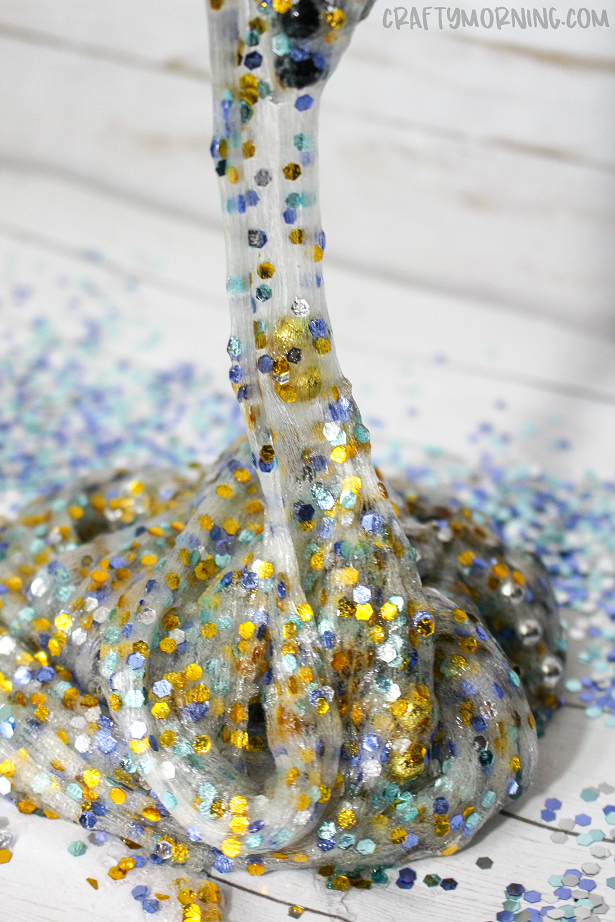
- 1 Bottle of color changing glue 6oz
- About ¼ cup warm water
- ½ teaspoon baking soda
- 1 tablespoon contact lens solution containing boric acid
Instructions
- Empty the glue into a large bowl.
- Fill the empty glue bottle about ⅓ full with warm water (about ¼ cup) and seal with the lid. Shake well to combine the remaining glue with the water. Pour into bowl with glue and stir to combine.
- Add the baking soda to the glue and stir to mix thoroughly.
- If you are adding additional glitter or confetti, stir the glitter into the glue mixture.
- Add contact lens solution to the glue mixture and stir well. (Note: regular glue will require less contact lens solution than glitter glue. Add the contact lens solution slowly, mixing between additions, and add only enough to bring the glue together into a soft ball.)
- Remove the slime from the bowl allowing any excess liquid to remain in the bowl. The slime will be sticky. Begin to play with the slime, kneading it as you would bread dough, to bring the slime together. The slime is ready when no longer sticky.
- Best if stored in an airtight container in the refrigerator when not in use.
- To change the slime color, place in direct sunlight.