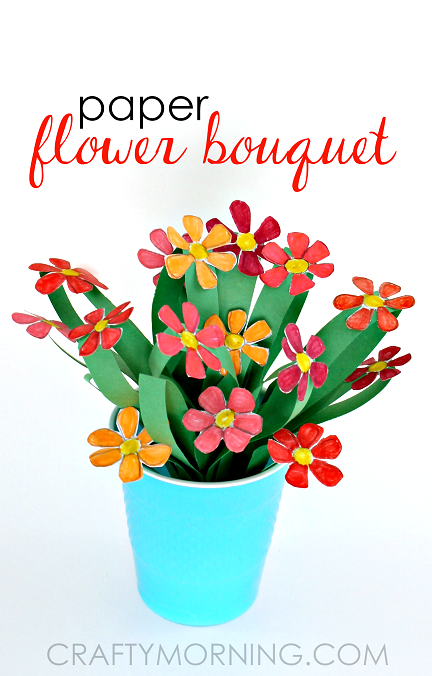
3D Paper Flower Bouquet Craft for Kids
This post may contain affiliate links. Please read our Disclosure Policy.
Supplies:
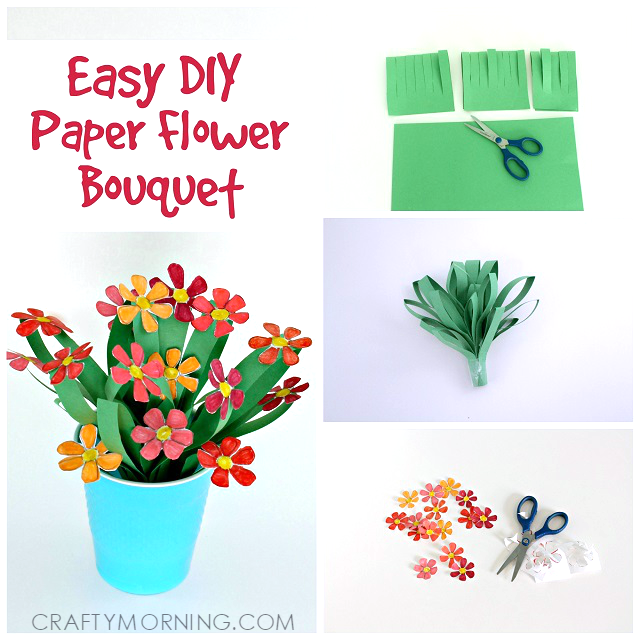
Step 1.) Cut the green paper in half. Take one of the pieces and fold that in half the long way, or horizontally.
Step 2.) Use the scissors to make cuts (the flower stems) From the fold of the paper to about an inch or two from the bottom of the paper edges. Make the cuts at least 1/4 of an inch wide up to 1/2 inch wide.
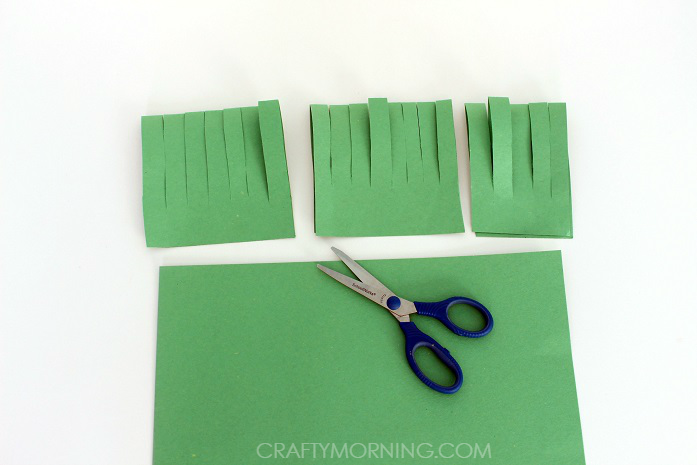
Step 3.) Cut this into thirds (as shown).
Step 4.) Layer the pieces on top of one another about 2 inches apart so that they are stacked as shown. Tape to secure. *This sill give your bouquet height in the center and an even look when completed.
Step 5.) Roll and wrap the stems into a tube and tape well to secure at the bottom. Fluff out the stems a bit and set aside.
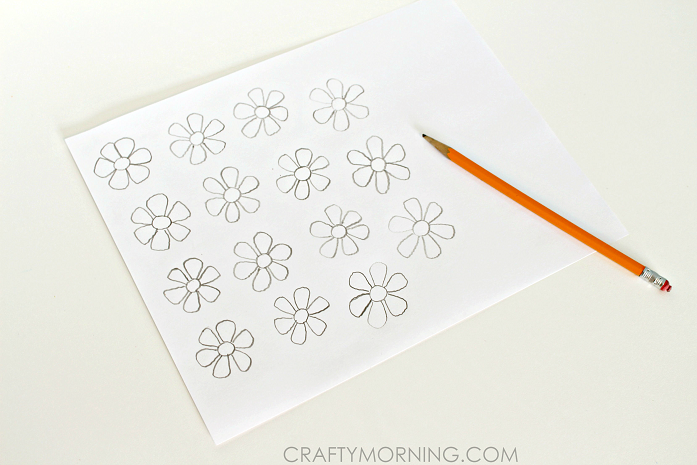
Step 6.) Use your pen or pencil to draw as many flowers as you need (count the amount of stems you have in your bouquet)
Step 7.) Color in your flowers using your markers.
Step 8.) Cut out your flowers.
Step 9.) Glue the flowers to the ends of the stems.
Step 10.) Put your bouquet into a cup or vase and enjoy!