Salt Snowflake Paintings
Are you ready to create some magical winter wonderland magic? We’ve got a fun and easy project that’s perfect for a snowy day (or any day, really!). This is a really simple and cheap science experiment to do with the kids. Make sure to also try our colorful salt painting snowflakes, too!
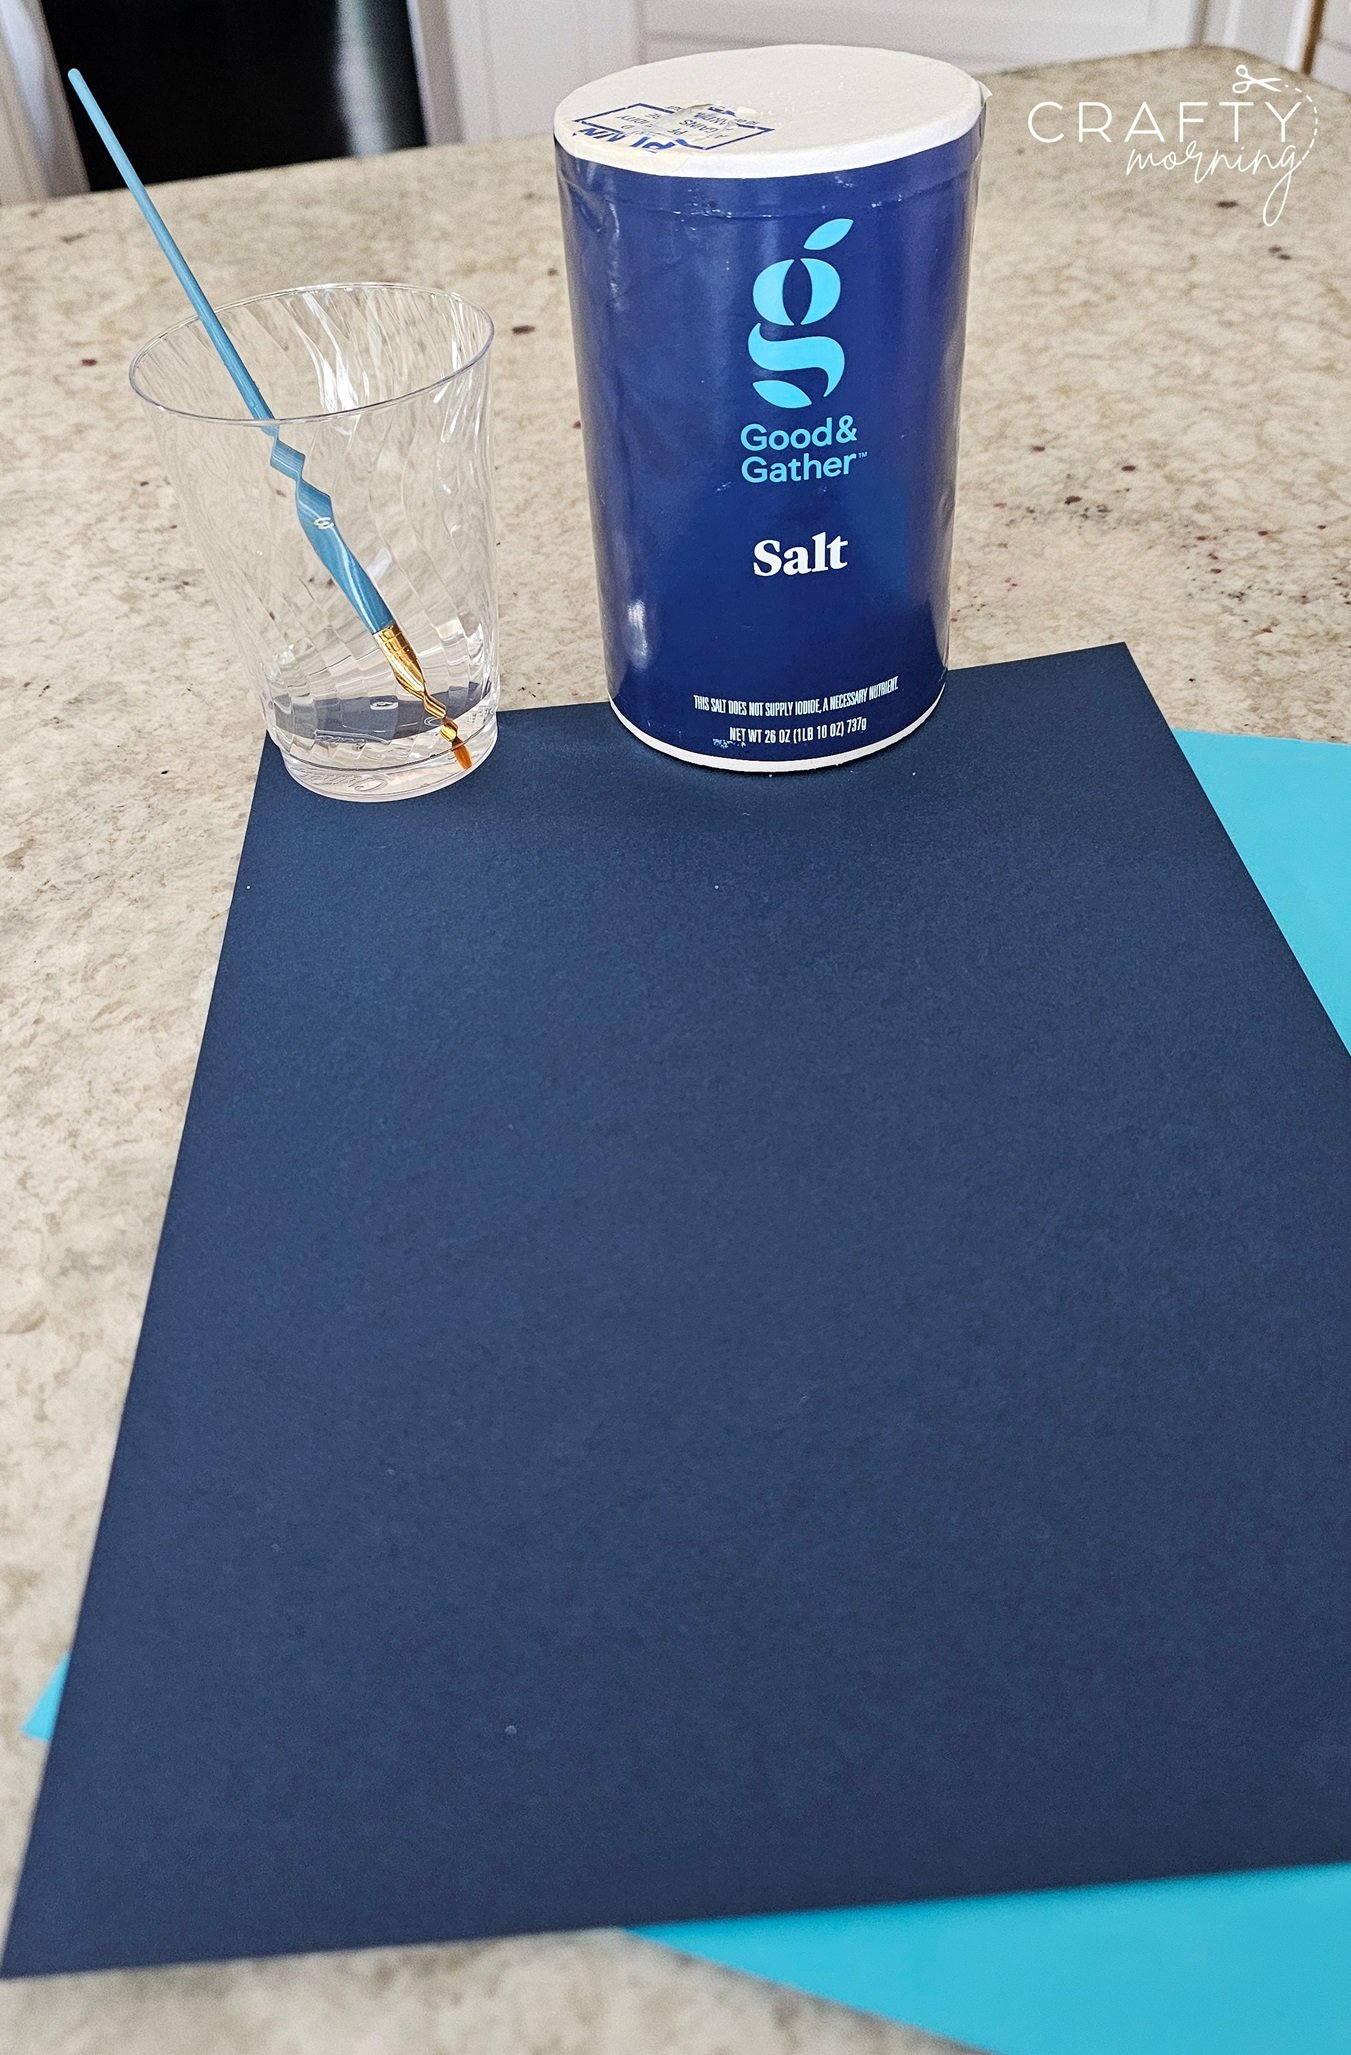
First, Let’s Get Our Materials Ready! Grab these simple ingredients: 2 tablespoons of salt, 4 tablespoons of water, some construction paper (we love blue for a winter sky!), and a hair dryer or heat gun (don’t forget to ask a grown-up for supervision!).
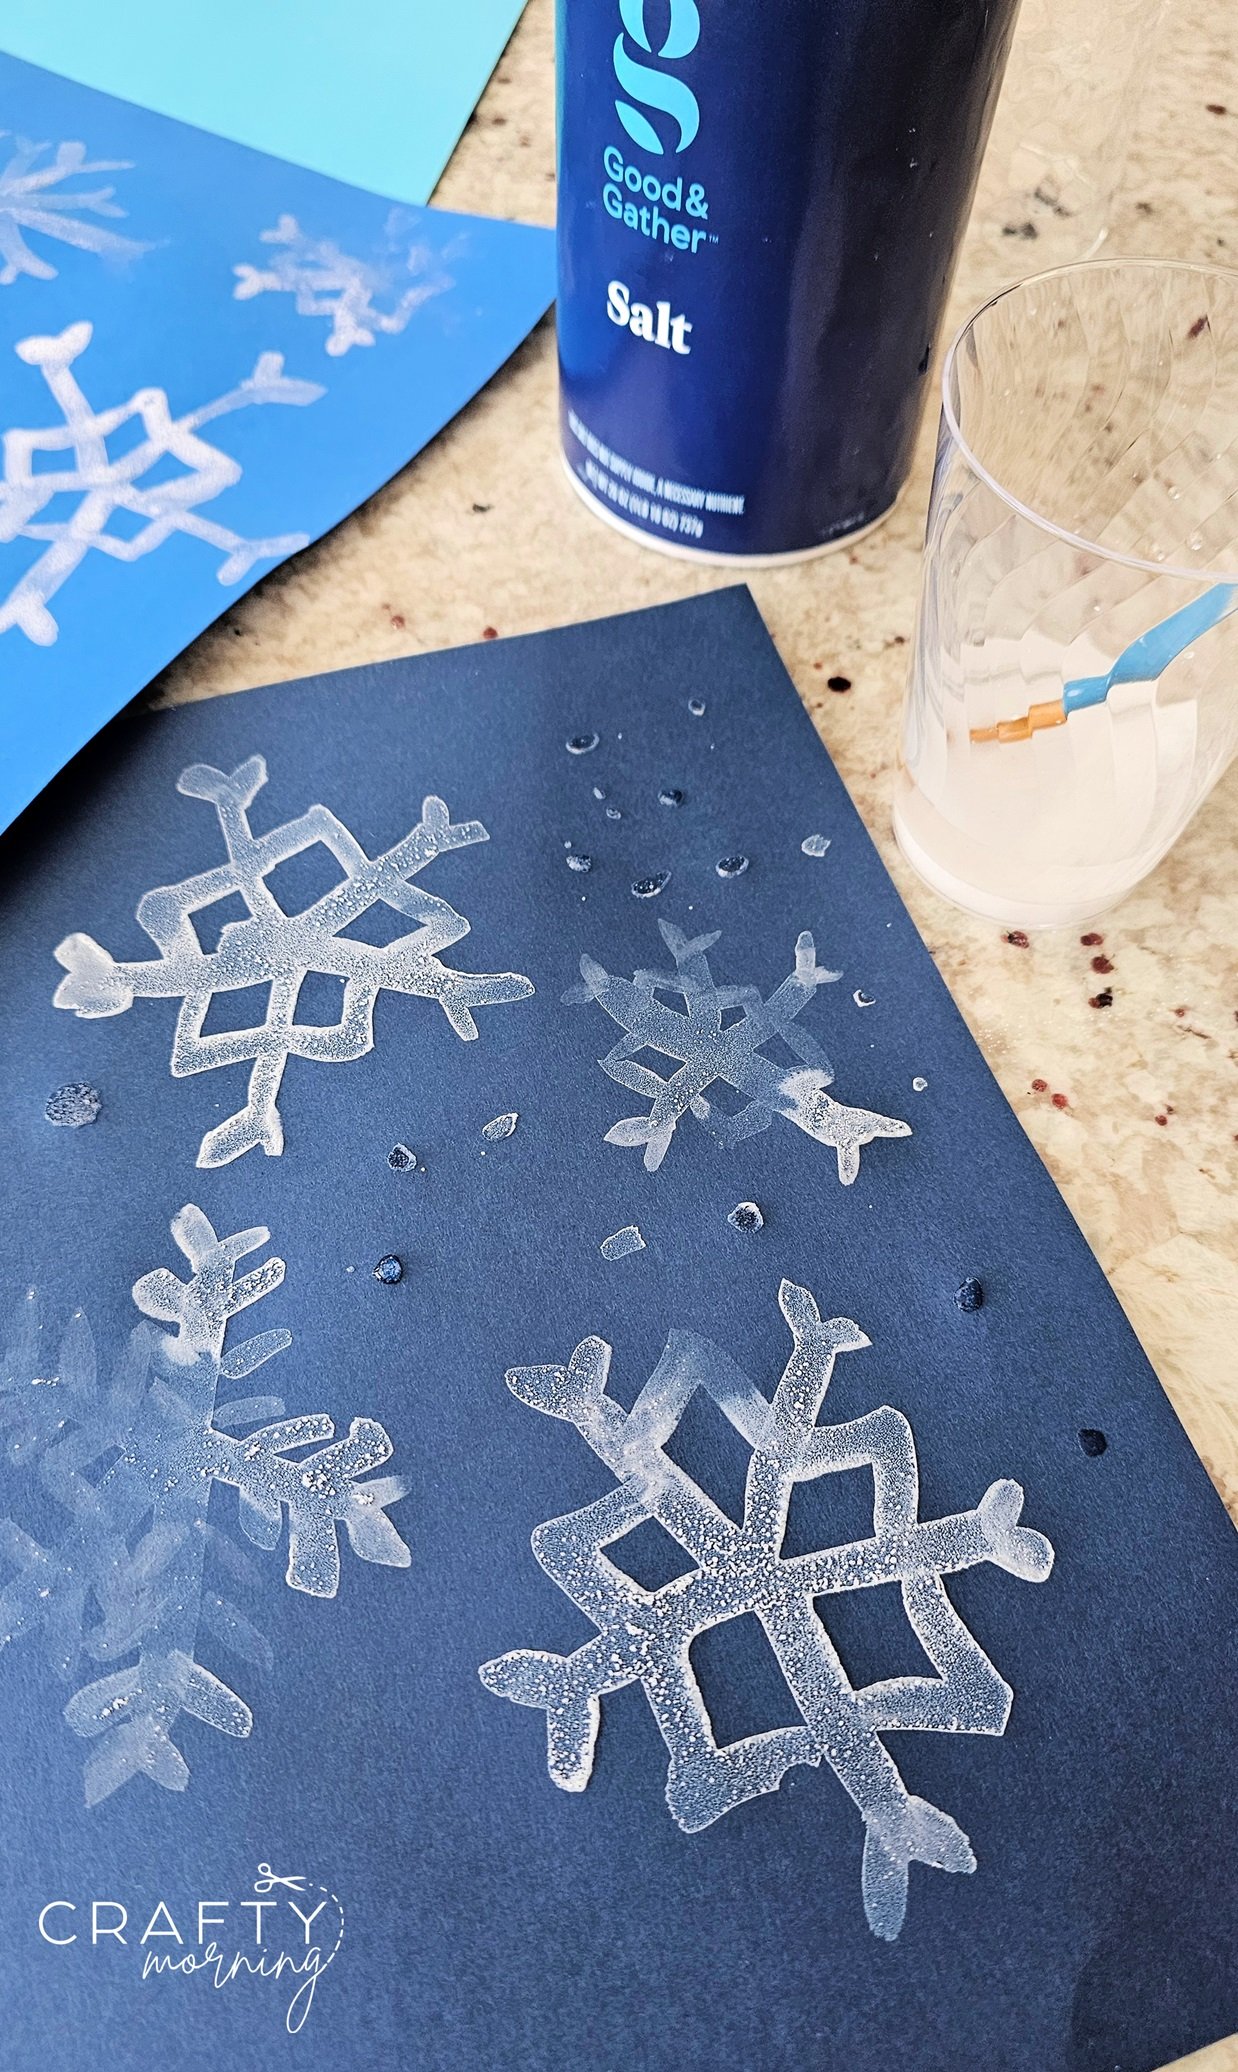
Mix the salt and water in a glass, and stir it up with a paintbrush for about a minute or two. Then, grab your blue paper and start painting some snowflakes or even a snowman shape! Get creative and have fun with it! The Magic Happens! Now, it’s time to add some magic to your snowflakes! Grab that hair dryer or heat gun, and gently blast your snowflakes. Watch in amazement as they transform into beautiful, white, sparkly creations! You don’t need a hair dryer as they will air dry by themselves but the faster effect impresses the kiddos! ;)
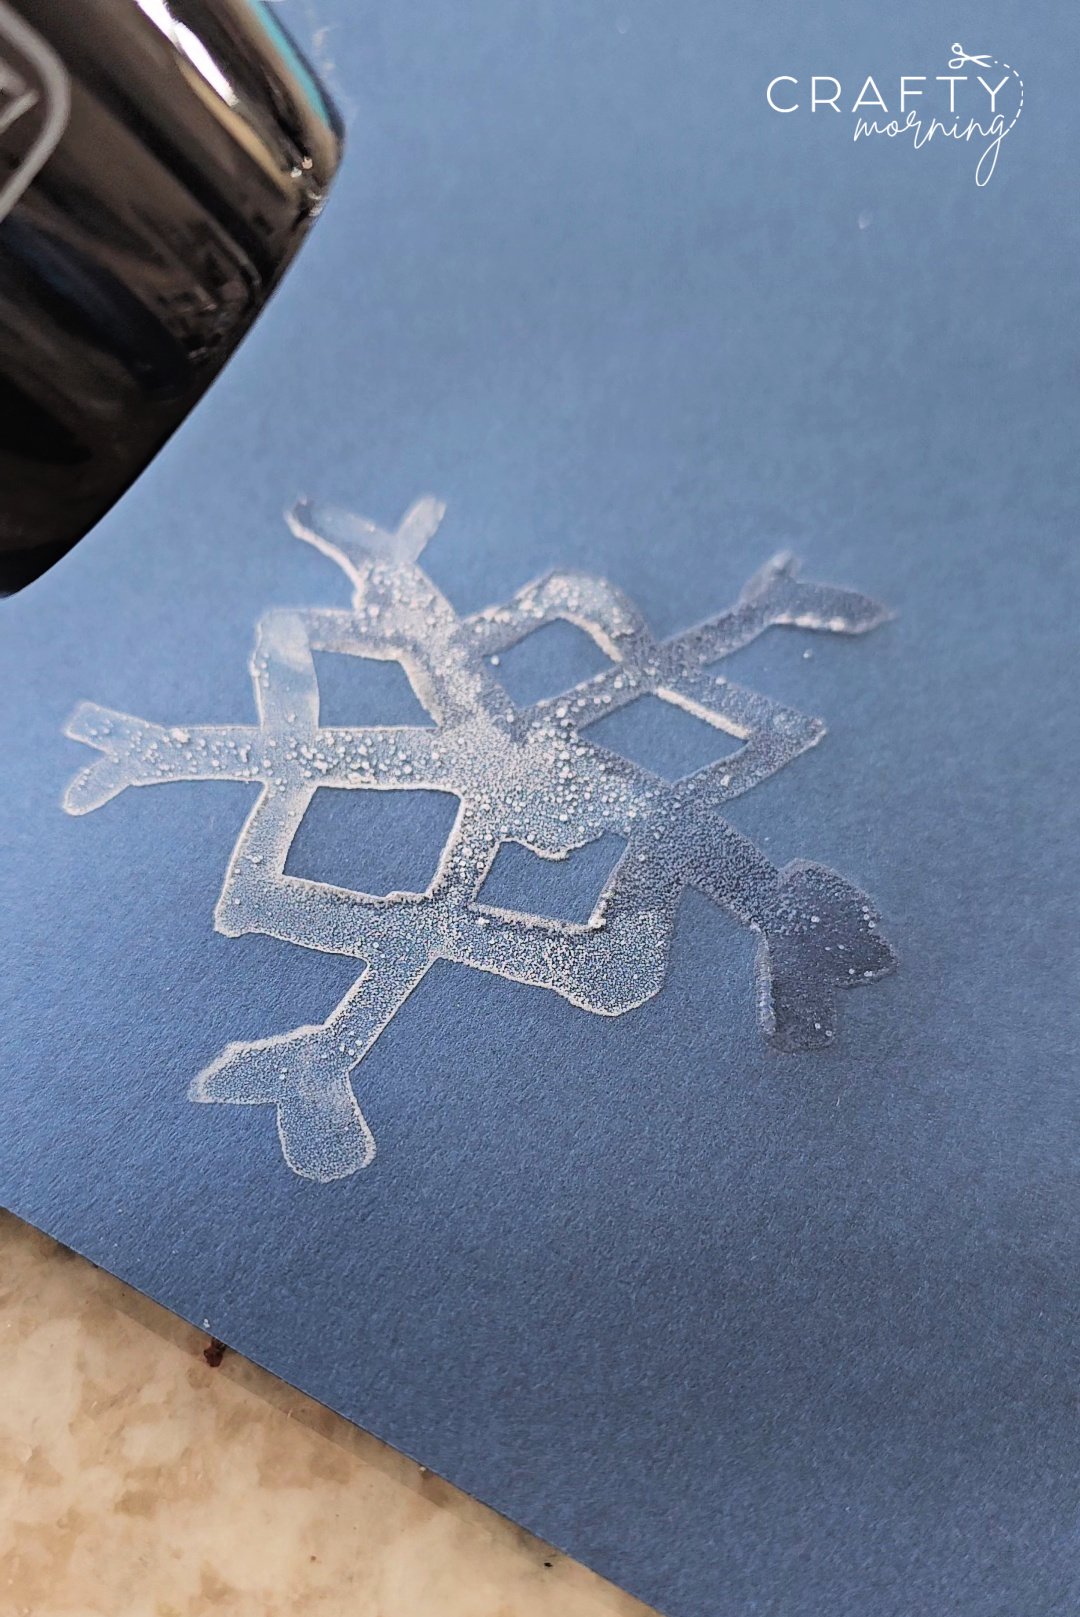
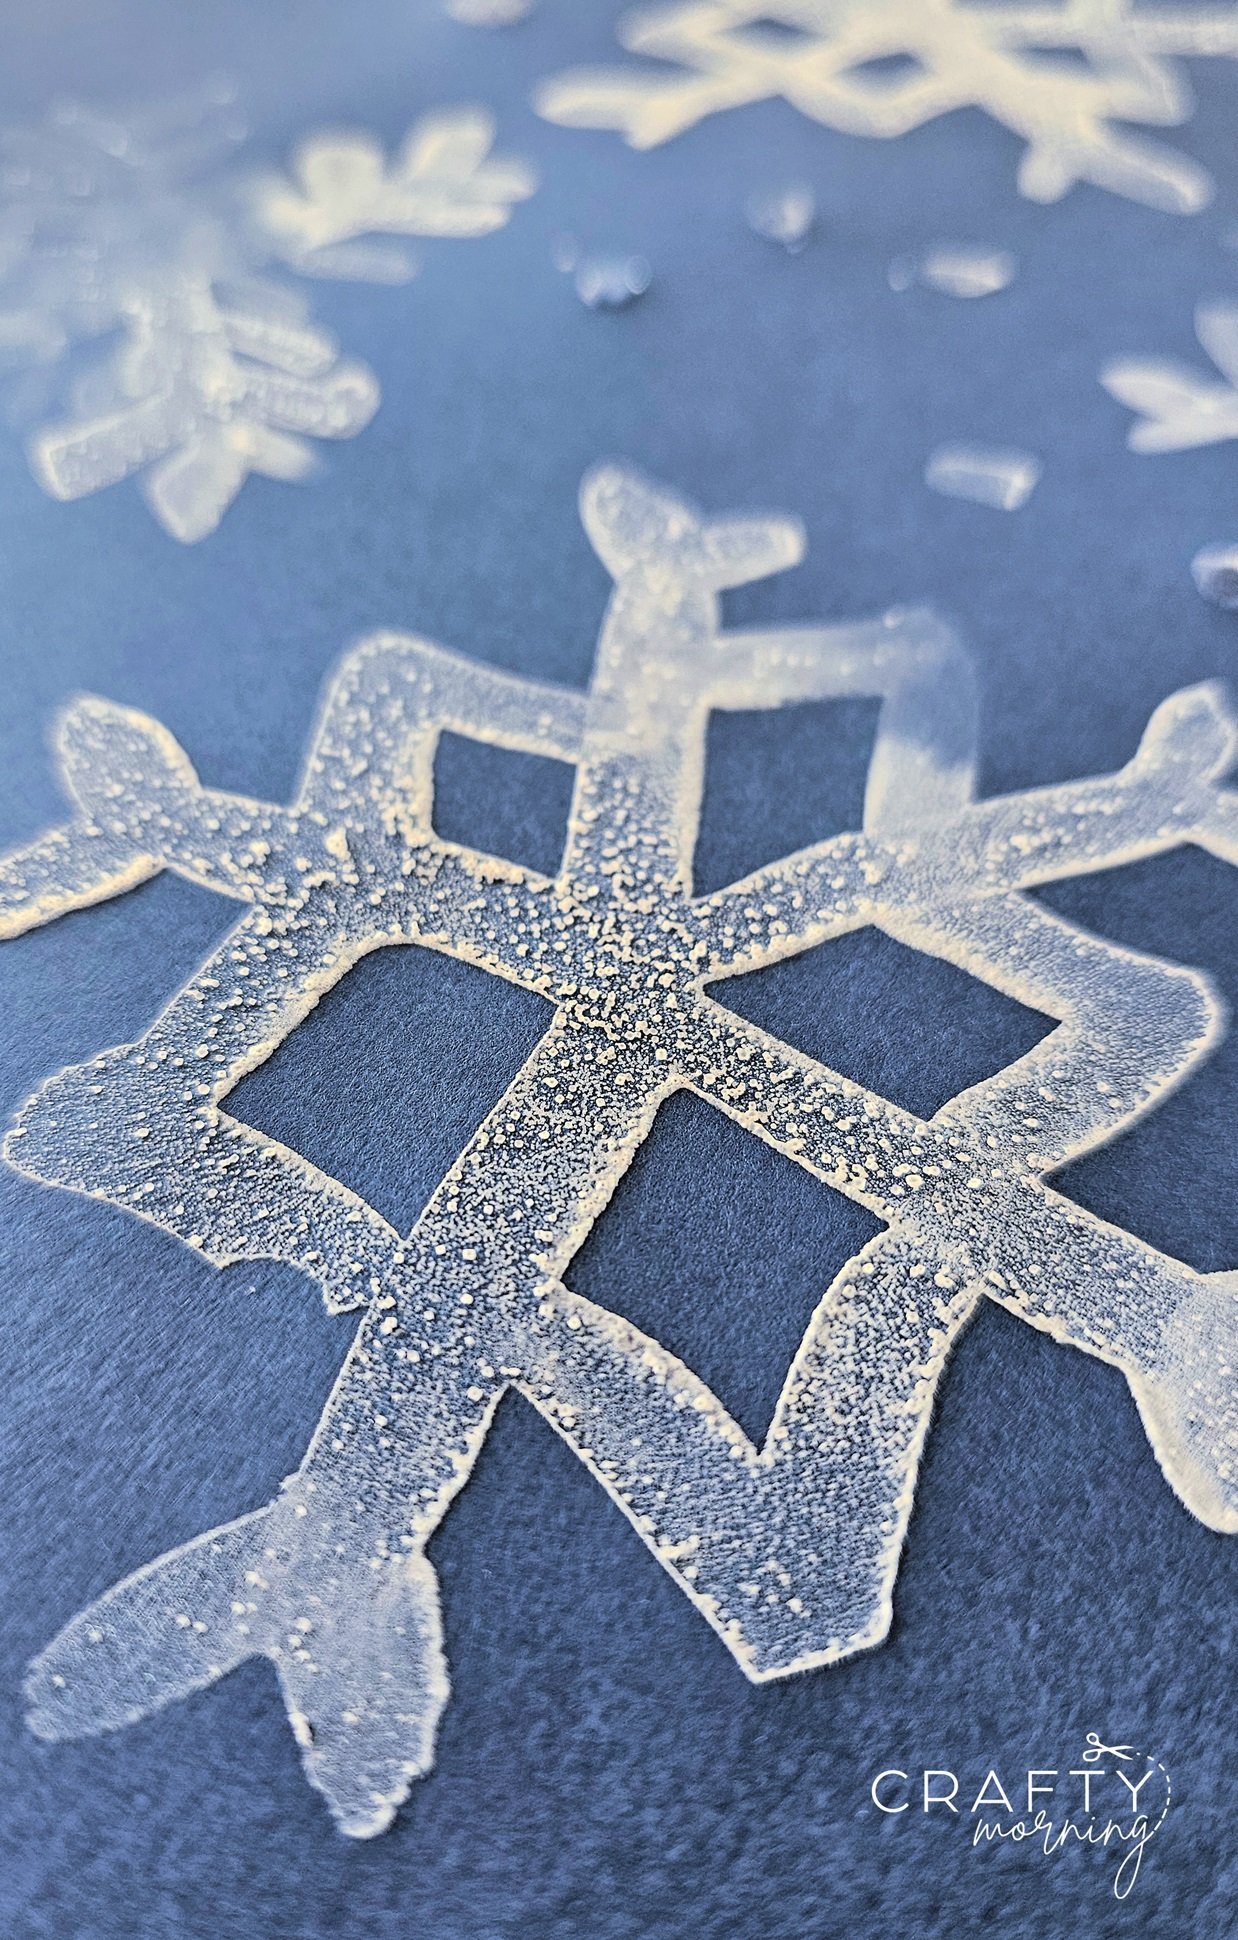
When you mix salt with water, the salt dissolves, creating a salty solution. But as the solution dries, something amazing happens. The water evaporates, leaving behind tiny salt crystals that form on the surface of the paper. As the crystals dry, they turn into a beautiful, white, sparkly layer that gives your artwork a magical touch!
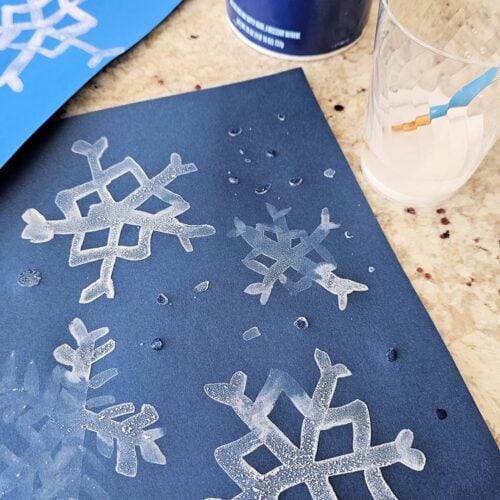
Salt Snowflake Painting
Materials
- 2 tbsp salt
- 4 tbsp water
- Construction paper
- Hair dryer/heat gun optional
Instructions
- In a glass, mix together the salt and water. Stir for 1-2 minutes with a paintbrush.
- Get your blue colored paper and start drawing snowflakes or even a snowman shape!
- Get a hair dryer or heat gun (with adult supervision!) and blast the snowflakes.
- Watch as they transform into beautiful white sparkly creations.