This post may contain affiliate links. Please read our Disclosure Policy.
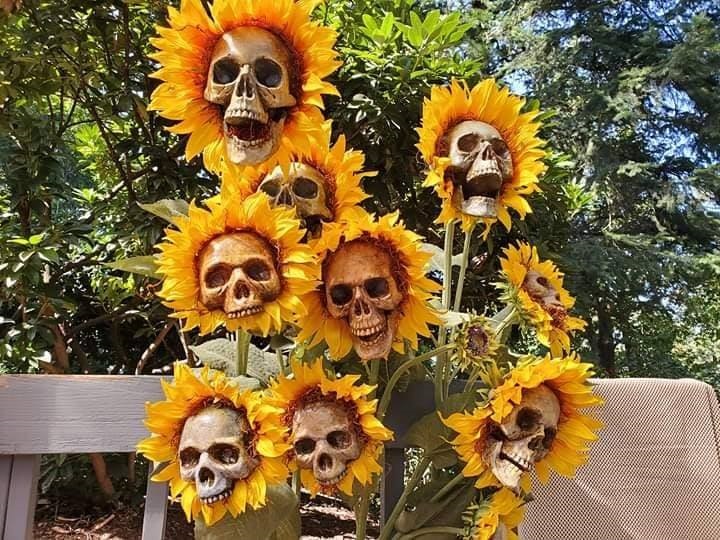
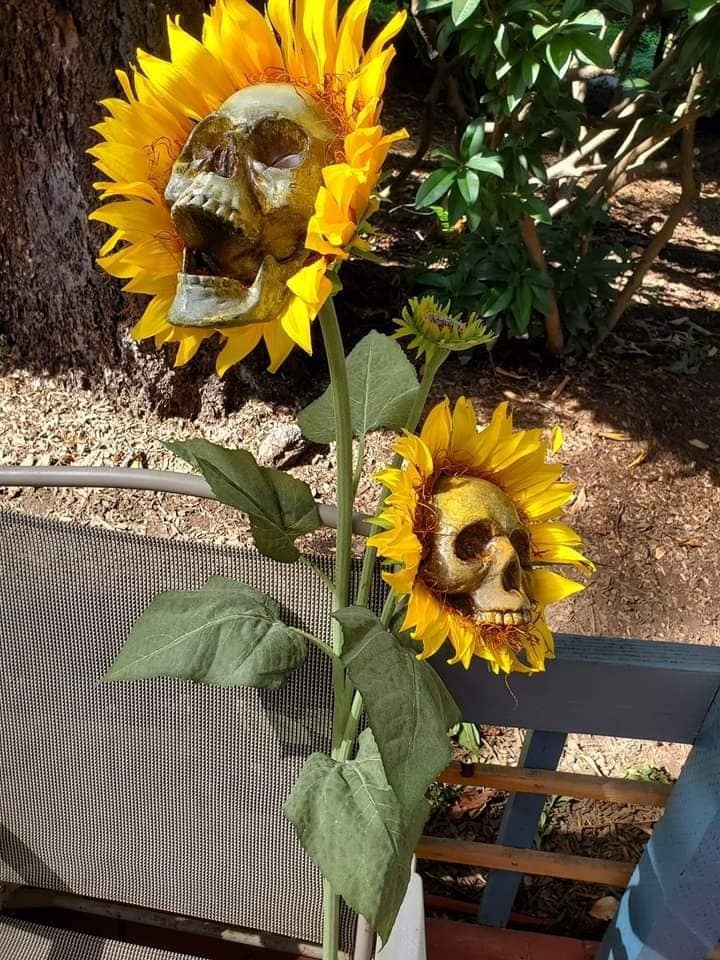
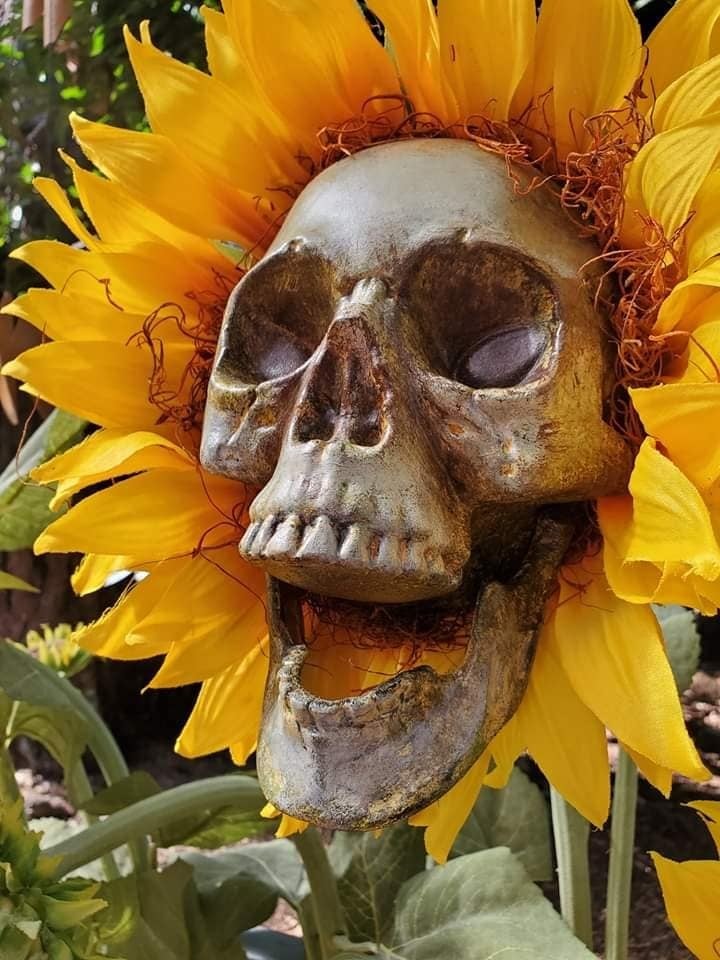
See them live in the video below...

Skull Sunflowers
Ingredients
- Tools Needed:
- Materials Needed
- plastic skulls
- fake sunflowers
- fake moss
- optional- spray primer I recomend Krylon Fusion
- optional- acrylic paint
- optional- spray sealer
Tools Needed:
- utility knife hacksaw, or kitchen shears
- hot glue gun
Instructions
- Find some plastic skulls that will fit well with the fake flowers you've chosen. The large sunflowers here were found at hobby lobby and I'm using two different plastic skulls for the two larger flowers. The skulls were found in "bag o bones" type sets you find at home Depot, Michaels, and other stores with Halloween decor. I always stock up at the end of the season for next years projects.
- Once you've found skulls that will fit your flowers you will remove the backs of the skulls with a utility knife or other tool. The plastic is fairly easy to cut, but be careful. For the smaller of the two flowers I also chose to remove the bottom jaw of its skull.
- To assemble the flowers, I first run some hot glue around the cut edge in the back of the skull and apply some fake moss type material to help hide the back edge and add some texture. To finish them off simply run another bead of hot glue around the back of the skull and press the skull into the center of the flower, being careful to fold back the flower petals.
Notes
Optional:
You can use the skulls as is or if you want to make them a little more realistic you can stain or paint them. One option is to use furniture stain, dabbing it on and wiping it off to get an aged effect. For these I wanted to paint them entirely. To prep the skulls, give them a good washing with dish soap and optionally a light sanding to help the primer stick. Then give them a coat or two of primer. I really like Krylon Fusion for plastics, available at Lowes. After the base coat dries you can add details with acrylic paint. I generally like to coat the skulls with slightly watered down paints then dab away the parts I want revealed. Dry brushing is another good technic. Once the paint is dried you can apply a clear coat.
Make sure to follow Crafty Morning on Facebook, Pinterest, and Instagram or subscribe to our Weekly Newsletter! :)
