This post may contain affiliate links. Please read our Disclosure Policy.
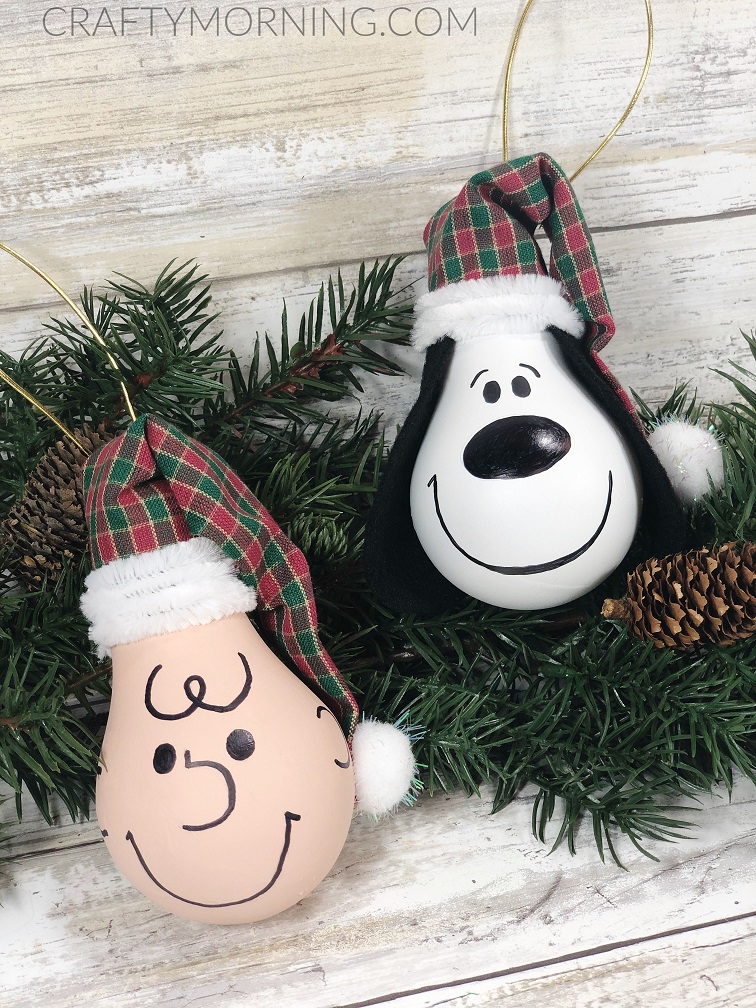
Make these adorable light bulb ornaments of Snoopy and Charlie Brown! You could make the whole gang! Do note that these are fragile and should not be dealt with by children as the glass could break and cause injuries.
Watch the video tutorial...
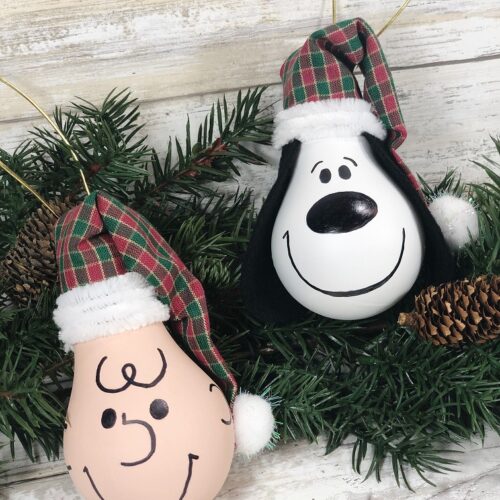
Snoopy & Charlie Brown Light Bulb Ornaments
Ingredients
- PDF Patterns of Hat and faces
- Lightbulbs - Used
- Primer Spray Paint – White
- Craft Paint – Flesh Tone
- Fabric – Red and Green Plaid Two Rectangles 5” by 6”
- Black felt
- White Pipe cleaner Two
- White pom poms Two
- Glue Gun and Glue Sticks
- Paintbrush
- Scissors
- Ruler
- Permanent Black Marker
- Cord Gold – Two 10” lengths
- Cardboard or Newspaper
Instructions
- Gather all supplies. In a well-ventilated area, or outside, lay out some cardboard or newspaper and then base coat the lightbulbs with white primer spray paint. Each ornament will require one recycled lightbulb.
- Base coat one lightbulb with flesh toned craft paint, let dry and then apply a second coat, if necessary.
- Download and print patterns. Cut out two Snoopy ears from black craft felt. Attach to left and right side of white lightbulb with glue gun and glue sticks.
- Measure and cut two rectangles of fabric five-inches wide by six-inches tall, fold in half lengthwise and cut into isosceles triangles. Attach fabric to the top edge of each lightbulb with glue gun and then secure edges of fabric together with a bead of glue to create Santa style hats.
- Glue end of chenille stem to the back of each Santa hat, wrap around stem of light bulb and then secure with glue gun to the back of the hat. Cut off any excess with scissors.
- Using the pattern as a guide, sketch the facial features onto each lightbulb with a pencil. Ink in features with a permanent black marker.
- Flatten and fold over the tip of the Santa hats and attach to the side of the lightbulb with glue gun. Secure a pom pom to the end of each Santa hat.
- Measure and cut two lengths of gold cord ten-inches each. Create a loop by knotting the ends and then attach to back of each lightbulb with glue gun and glue sticks.
Make sure to follow Crafty Morning on Facebook, Pinterest, and Instagram or subscribe to our Weekly Newsletter! :)
