Foam Egg Penguin Craft for Kids
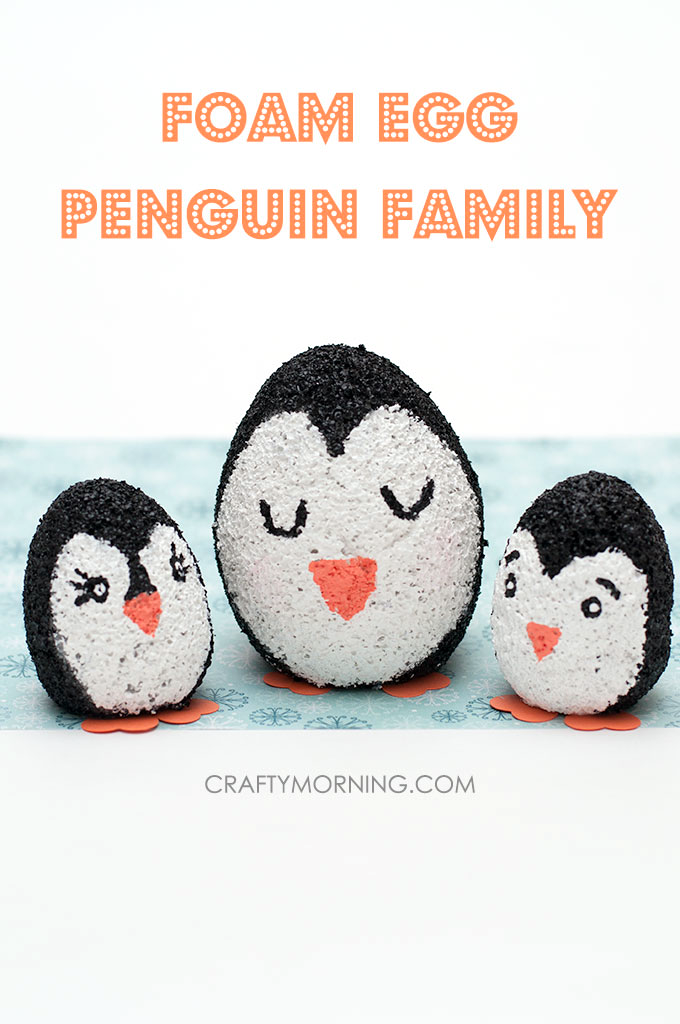
This penguin craft is probably one of the easiest one’s I’ve done. My boys really wanted to work on a penguin craft today (we were watching Happy Feet). Since I already had the foam eggs on hand I just needed to round up the kids and paints to get started.
It was a perfect Winter craft to do with the boys and keep them occupied for while, since it’s so cold outside right now.
For this cute craft you’re going to need:
SUPPLIES
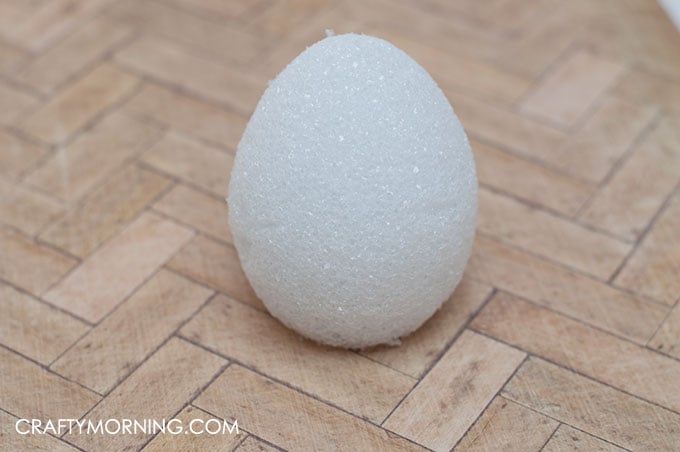
- Foam Egg
- Paint
- Paint Brush
- Cardstock
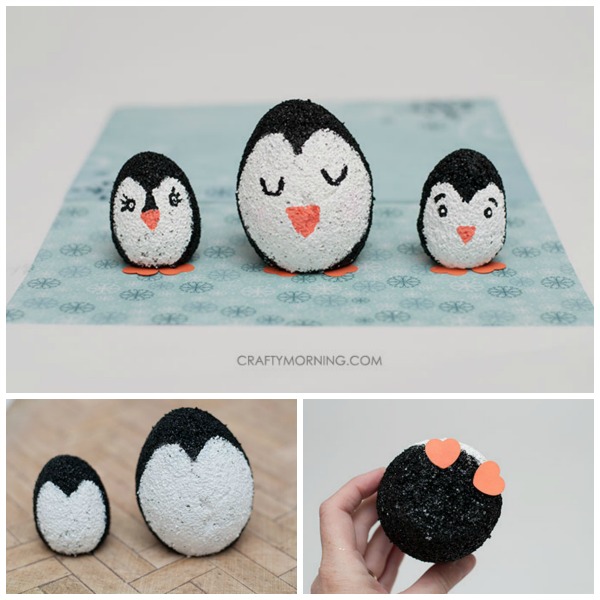
Step 1 – Cut Bottom of Egg
Once you’ve picked out the size of your penguin, help cut a small amount off the bottom so that your little one’s penguin is able to sit up.
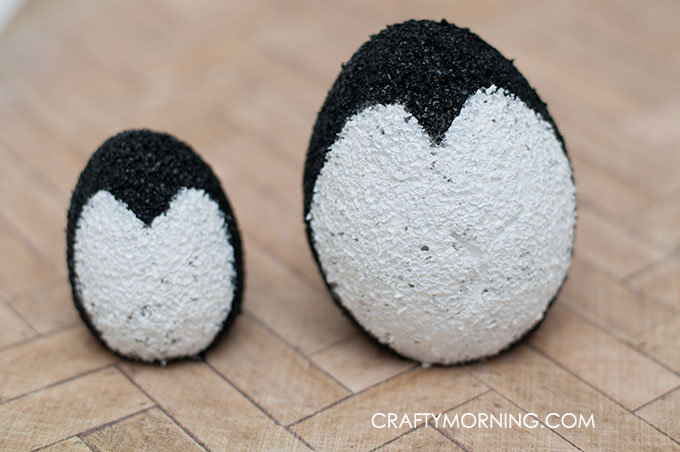
Step 2 – Paint Foam Eggs
Next it’s time to paint. We painted on the black section first and let dry an hour. Then added the white part of the penguin and let dry.
QUICK TIP: I usually add paint right before lunch, and by the time lunch is finished and cleaned up the project is usually dry.
Step 3 – Paint on Your Faces
Now let’s add our cute little faces to this penguin family! You can get as creative as you want with this part. Using a thin paint brush works best for this step.

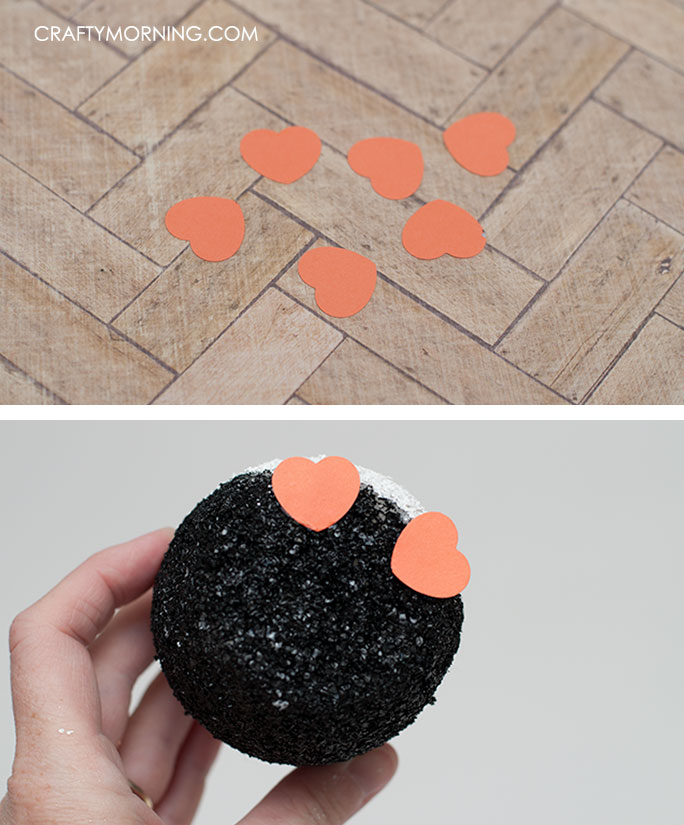
Step 4 – Make Your Feet
Now it’s time for their little feet. A heart shape makes a perfect penguin foot. I used my “handy dandy” heart punch for this step and glued them to the bottom.
If you don’t have a heart punch then you can always just cut out a heart shape.
Finishing Touches
How cute is this little penguin family?!?! This was really such an easy penguin craft and the kids just love it.
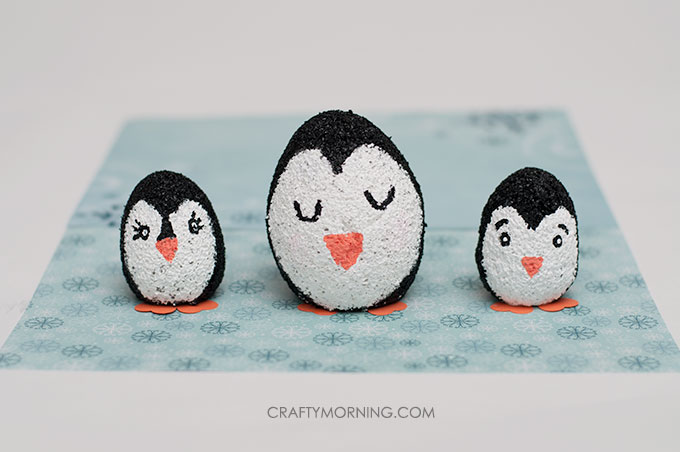

You can make a whole family or just one, but I thought the mama and her chicks were too cute. Now the kids are ready to play with their little “Happy Feet” penguin crafts!
Check out more penguin crafts here!

Wanna’ keep up with all my craftiness, follow me!
Facebook | Pinterest | Google+ | Twitter | Newsletter