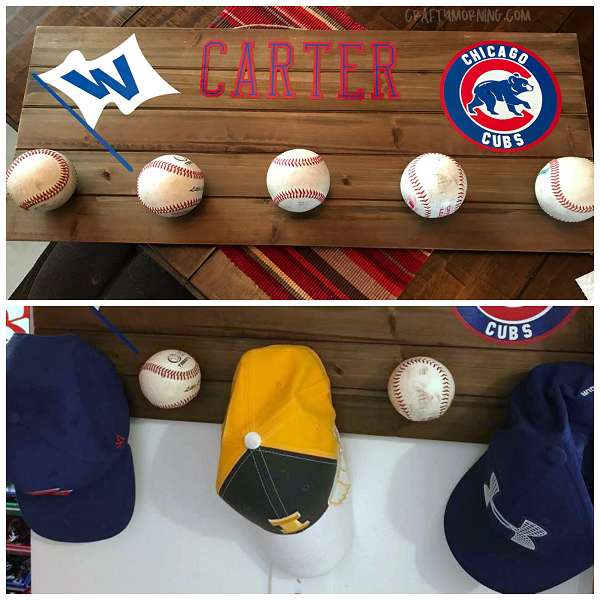
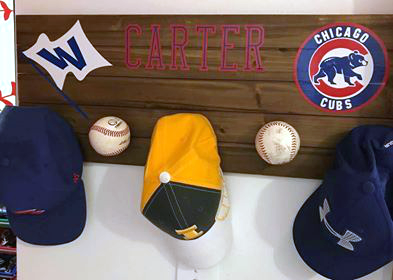
DIY Baseball Hat Rack

This post may contain affiliate links. Please read our Disclosure Policy.
This amazing baseball hat rack was made by Brooke Fry and she was so sweet to share how she made it with us!
Supplies Needed:
- Any size or style piece of wood
- 2” metal screws
- Baseballs
- Electric screwdriver
Directions:
1. Measure and mark off every 4-6” on the back of the wood.
2. Begin inserting screws into the back of the board on each mark until it begins to show through the front of the board.
3. Center a baseball on the screw and continue using the screwdriver to drill into the baseball.
4. Continue using as many baseballs as you want across the board.
Hint: I started in the center of the wood with one ball and worked my way to the outside edges.