How to Make Ribbon Angel Ornaments
Make Beautiful Wired Ribbon Angel Ornaments

Here’s a super easy and fun Christmas craft to make…ribbon angel ornaments! All you need is a few items (which you can find all at the dollar store!) The ornaments are garland so you just cut them off individually or just buy mini ornaments on their own.
This post may contain affiliate links. Please read our Disclosure Policy.
These make beautiful Christmas gifts and decor for your tree! You can make so many different colors of angels just find wired ribbon.

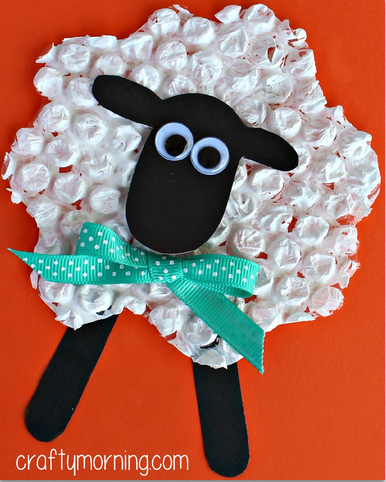
If you love angel ornaments, make sure to check out our seashell angel ornaments, button angel ornaments, and mini flower pot angel ornaments!
Here’s step by step directions in a video…

Ribbon Angel Ornaments
Materials
- Mini Plastic Ornament Bulbs
- Thick Wired Ribbon – Red and Gold
- Sparkly pipe cleaner
- Thin Ribbon
- Elastic Cord – Red and Gold 10” Lengths (for hangers)
- Glue Gun and Glue Sticks
- Scissors
- Ruler
Instructions
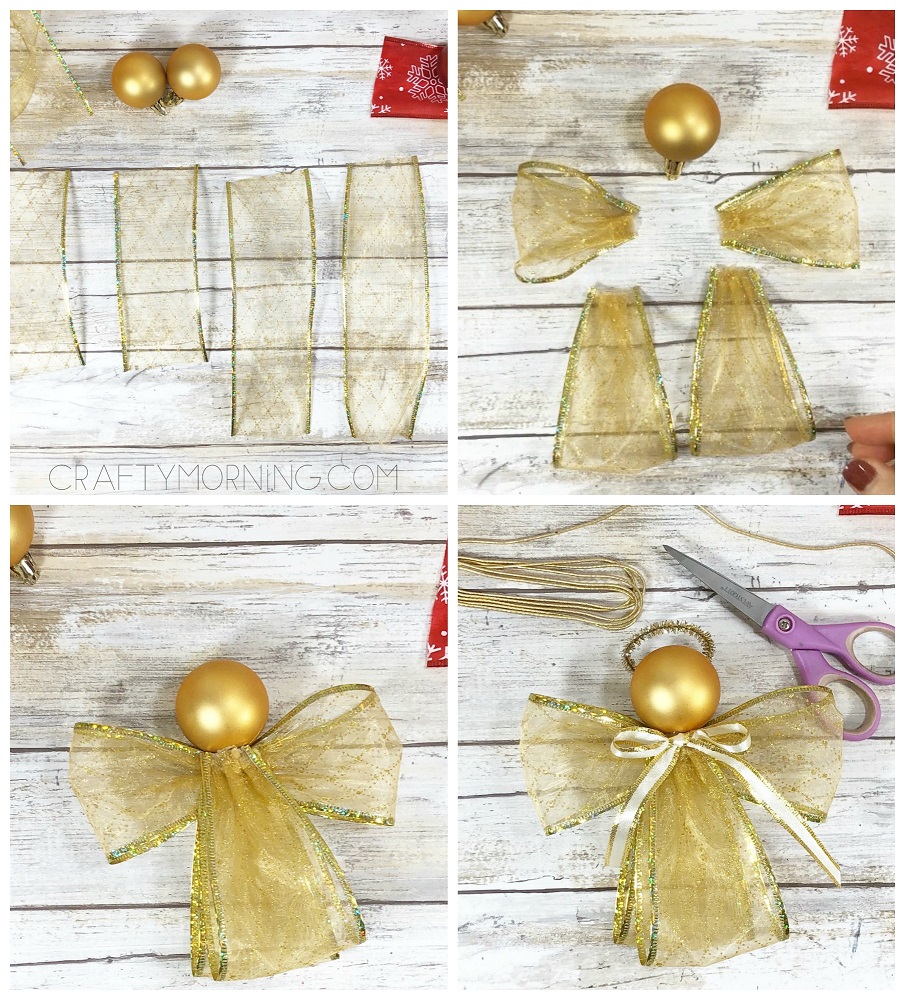
- Measure and cut two eight-inch lengths of wired ribbon for the angel’s body and two six-inch lengths of wired ribbon for the angel’s wings.
- Apply a thin line of glue to the edge of each section of wired ribbon, fold in half, pinch with fingers and gather to create loops.
- Turn ornament upside down and attach one large loop to the ornament cap with the glue gun.
- The ornament becomes the head of the angel. Flip angel over and attach the two small loops across the back to create wings. Adhere the second large loop to the back.
- Bend a six-inch length of pipe cleaner into a circle, twist to secure and bend straight piece down to create the angel’s halo. Attach to the back of the angel’s head with the glue gun and glue sticks. Tie a bow in white and gold accent ribbon and then glue to angel’s neck.
- Measure and cut a ten-inch length of gold cord. Create a loop by knotting the end and then attach to the back of the angel with the glue gun.
- Repeat above steps with red ornaments and ribbons. This is a fun and inexpensive craft to create in just about 15 minutes!