Flower Pot Turtle Craft
How to Make a Clay Pot Turtle
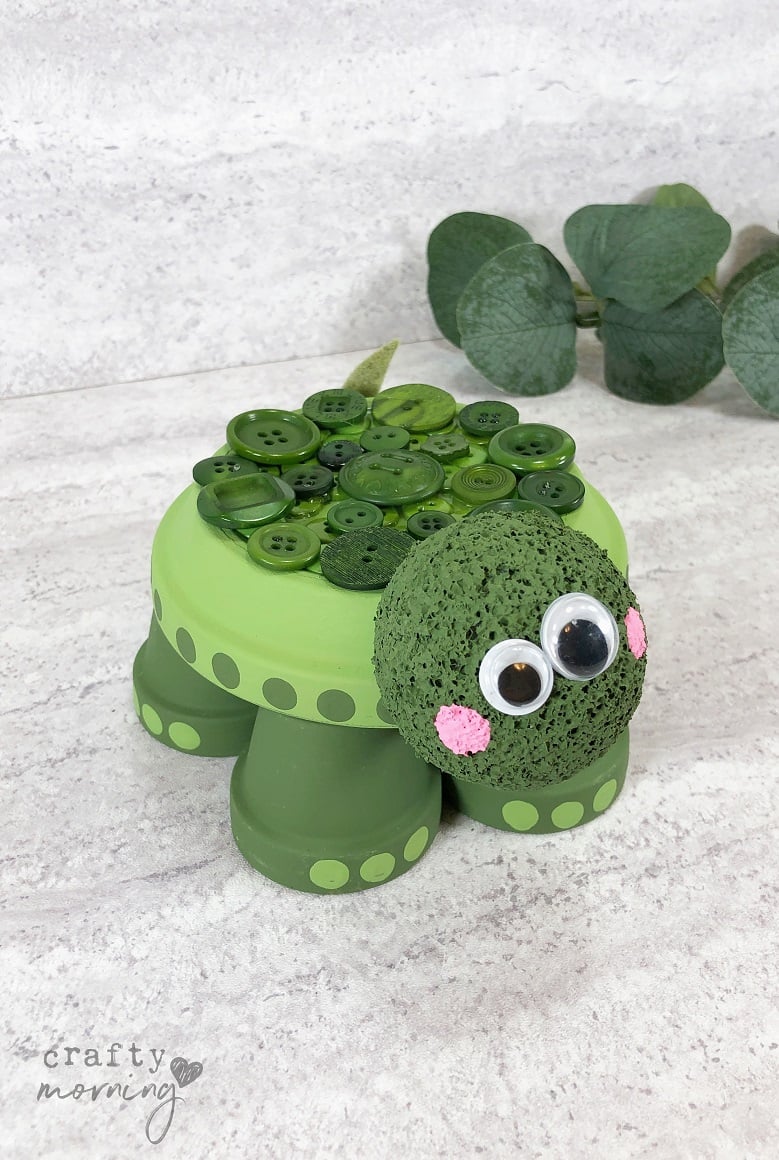
Make an adorable little turtle craft with some clay pots! You could put him in the garden or on a porch! The kids will love painting and gluing all the things!
This post may contain affiliate links. Please read our Disclosure Policy.
He is the cutest little guy ever!

Flower Pot Turtle
Ingredients
- Clay Pots – 1.5” in diameter Four – Dollar Store
- Clay Pot Saucer – 4” in diameter One, Dollar Store
- Acrylic Craft Paint – Light Green Medium Green, Pink
- Styrofoam Ball 2” – Dollar Store
- Wiggle Eyes Two – Dollar Store
- Assorted Buttons – Green
- Glue Gun and Glue Sticks
- Liquid Craft Glue
- Scissors
- Paintbrush
- Pencil with New Eraser
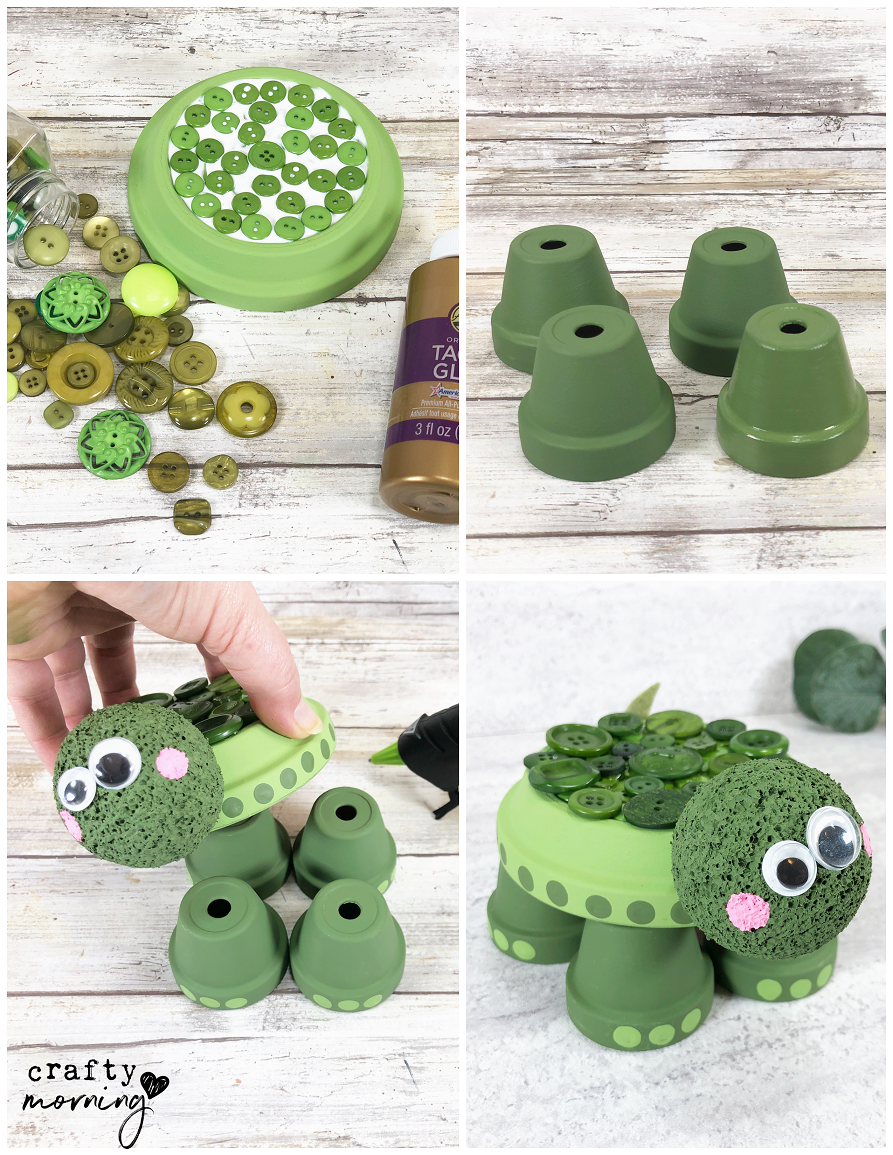
Instructions
- Gather all materials and then remove the packaging and labels. Basecoat the clay pot saucer with light green acrylic craft paint. Let the paint dry and then apply a second coat, if necessary.
- Basecoat the four clay pots with medium green acrylic craft paint. Let the paint dry and then apply a second coat, if necessary.
- Basecoat the styrofoam ball with medium green acrylic craft paint. Let the paint dry and then apply a second coat, if necessary. Place the foam ball on a pencil to paint so that you have a handle.
- Apply a layer of liquid craft glue on the base of the clay pot saucer and attach green buttons. Set aside to allow the glue to dry.
- Using a glue gun and glue sticks, apply a second layer of green buttons to the base of the clay pot saucer, overlapping the first layer.
- Dry fit the foam ball head onto the edge of the clay pot saucer and push gently to create an indent on the foam ball. Attach the turtle’s head to the shell with a glue gun and glue sticks. Hold in place until glue is set.
- Using a glue gun and glue sticks attach two wiggle eyes to the turtle’s head. Add polka dot cheeks by dipping a new pencil eraser into pink acrylic craft paint. Set aside to dry.
- Add polka dot accents to the turtle shell by dipping a new pencil eraser into medium green acrylic craft paint. Repeat to create the turtle’s toes on the four mini clay pots, by dipping a new pencil eraser into light green acrylic craft paint.
- Place the four mini clay pots together in a square pattern, and then attach the turtle’s shell using a glue gun and glue sticks.